Feb 03, 2019 — I first visited the BLM-managed Eldorado Widlerness a couple years ago to check out the Bridge Spring Arch (a trip report now merged with this one), and the jagged rocks of the area left an impression. With my current psych for bagging obscure desert peaks, I ended back in this area and this little loop through the Eldorado Widlerness to a bunch of the high points ended up being a fun little adventure. Just a note that there's also an Eldorado Wilderness just to the north within Lake Mead National Recreation Area, but I believe when people mention th "Eldorado Wilderness", they're referring to the area I'm outlining in this trip report.
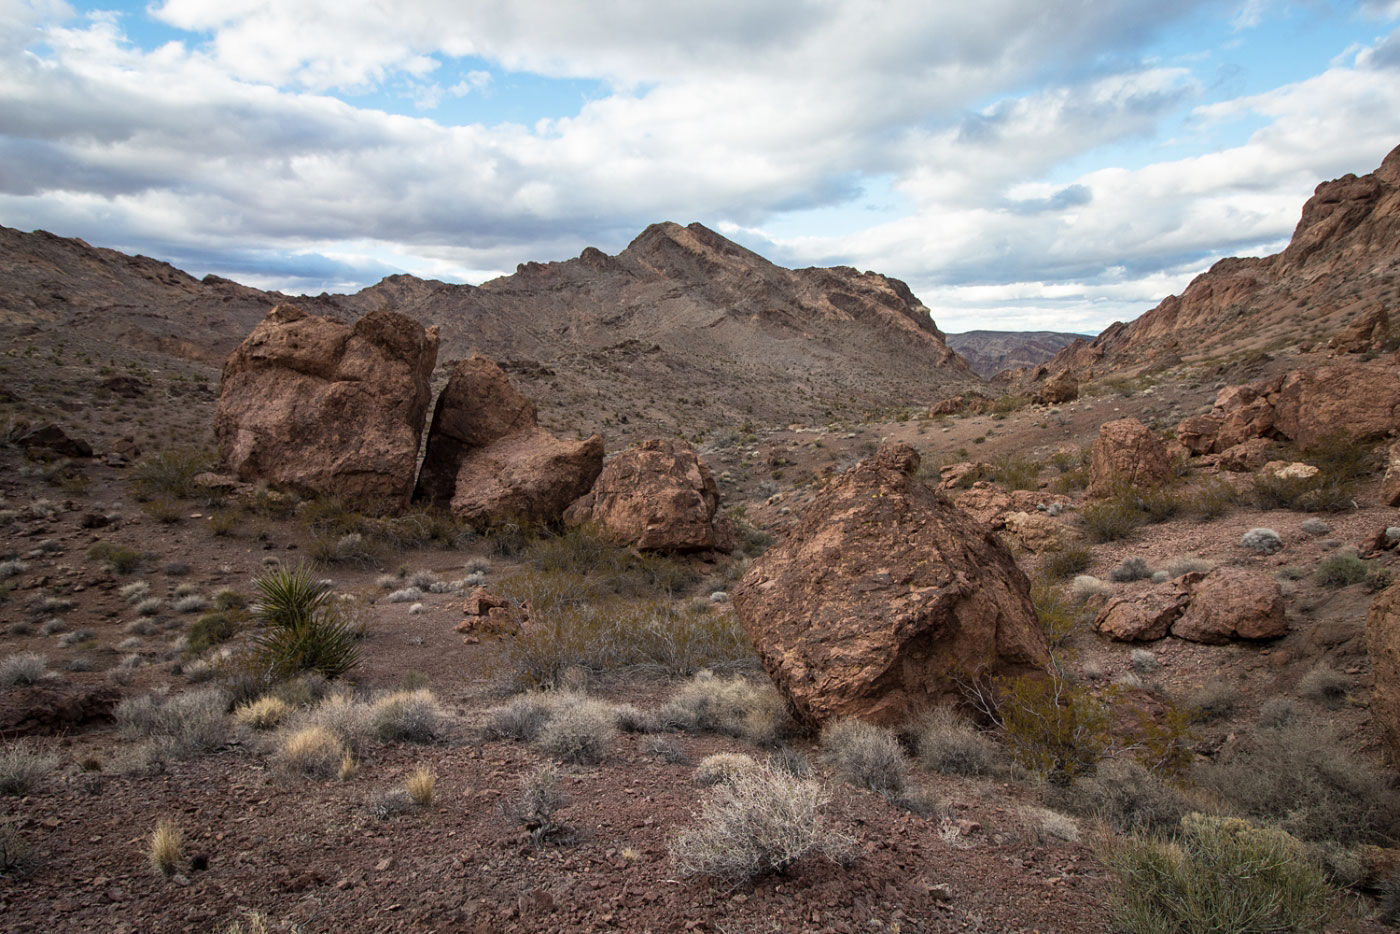
Starting from the Eldorado Trailhead, follow the Bridge Spring Trail to just before the canyon gets narrow and locate a slope on the south side of the canyon. This is where you'll head up to Nelson Benchmark after check out Bridge Spring Arch, just down the canyon. Known in some beta as Nelson Natural Bridge, the pretty feature pops up and is the stopping point for most in the area, including myself for my first visit to the Eldorado Wilderness. Back at the slope previously mentioned, follow the ridge up to Nelson Benchmark, nothing over Class 2. You can see Lake Mead and the little town of Nelson below. Head back to the trail and then follow another wash north and through a gap in the boulder-strewn ridgeline south of Pigs in Zen Peak. Immediately after going through this gap, I saw Mount Stocker, not knowing what it was at the time, but wanting to climb in regardless. A Class 2 gully leads up the west face and the easier route I could find continues to be Class 2 around the backside of the peak. Once off Mount Stocker, follow a north-running wash until you find a slope that leads up the Class 2 south side of Lonesome Peak, which probably had the highlight views of the day. Head southwest off Lonesome Peak toward Pigs in Zen Peak, the most colorful and interesting peak, due to the large and colorful boulders and red slickrock summit. My route back from Pigs in Zen Peak to the trailhead was a bit of a mess because there are washes and ridges leading all over that aren't visible on a topo map. You'll see my zigzagging route on my map, but don't attempt to follow it.
Please consider helping me out if you find my site useful. I'm not sponsored, so all site fees are out-of-pocket and my time preparing these trip reports is unpaid. You can also hire me as a web developer. I really appreciate it!


If you find my site helpful, please help me replace my many broken cameras, fund my website fees (hosting, APIs, security), or just support my countless hours of work. I pay for all expenses myself, and all trip reports I post are unpaid and unsponsored, so any support is really appreciated!
If using PayPal, please select their option for "Sending to a friend" so they don't take out fees, thank you.
My site is free to use, but consider sending me a few bucks to help keep it running. Thanks in advance!