

Starting up Pine Creek Canyon, Bridge Point visible on the right.
Entering the north fork, Fern Canyon.
Narrow section of Fern Canyon just after entering.
Lots of Class 2/3 obstacles within Fern Canyon that make progress slow.
Spring water made the route lush and had lots of flowing water.
The impassable waterfall. Keep to the right in the vegetated gully on the right.
At the top of the vegetated gully, above the fall.
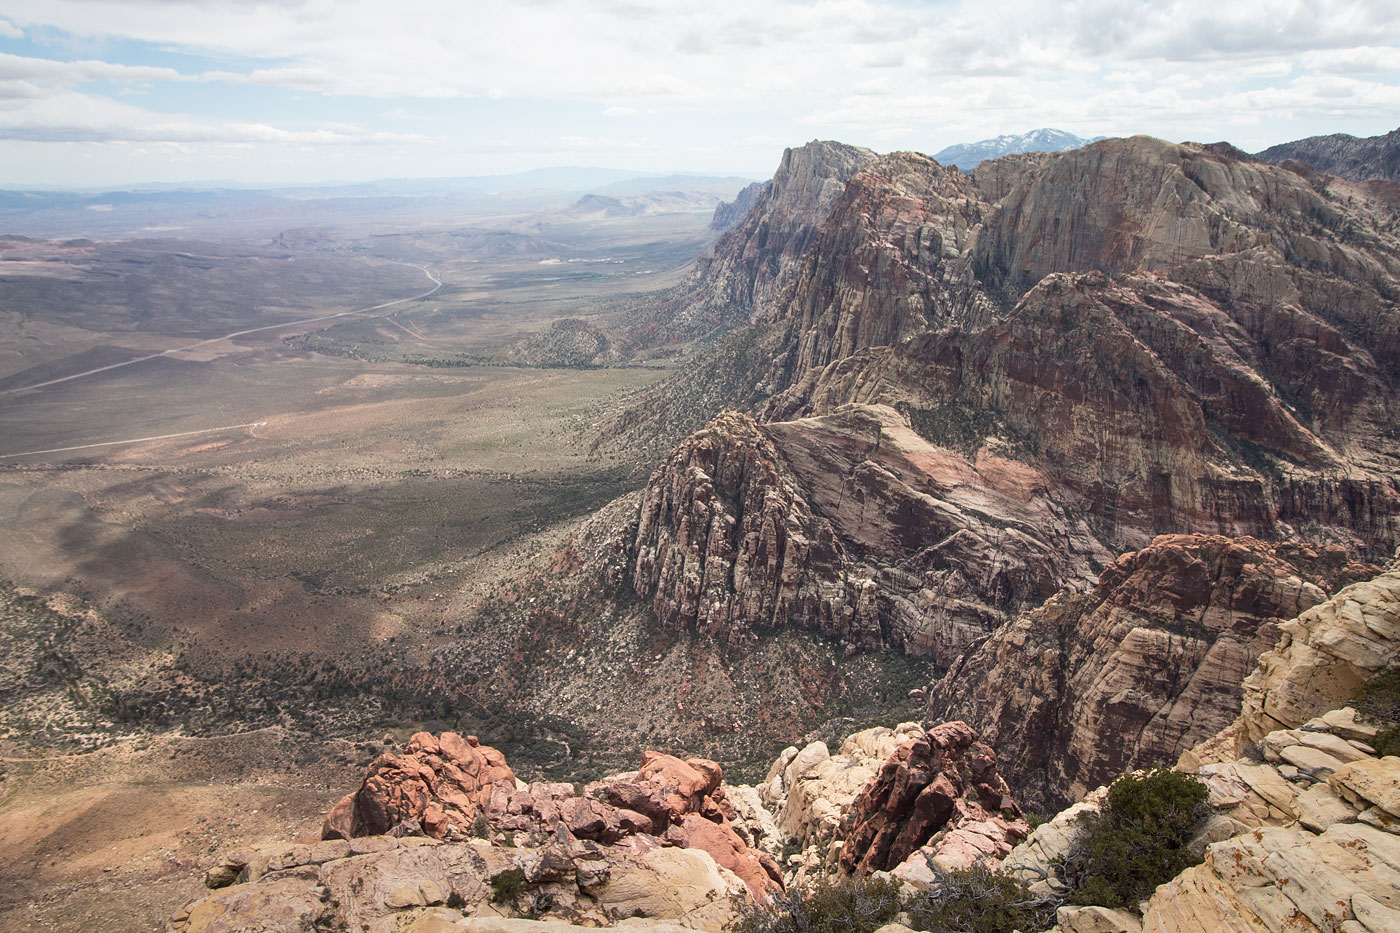
After the waterfall, we got this lovely view. The route heads up the right canyon pictured here. We stayed on the rocks on the right rather than dropping down into the creek.
Along the right side of the creek, navigating slabs.
Looking back down Fern Canyon before starting the ascent to the left.
Looking down into Fern Canyon as we began the northeastern traverse on cliffs.
Class 2/3 stuff on slabs. The slickrock section is wide and you can easily descend too early and cliffed out, so make sure to remember the route you took to get up.
Looking back along the traverse, Fern Creek below.
I thought the scenery was lovely and Austin was great for adding context of how teeny humans are, so excuse the many photos.
Steeper section of slickrock toward the top of the slab.
Looking out at the Red Rocks landscape before starting up the north-ish running gully.
The north-ish running gully leading to the saddle of Bridge Point and Bridge Vista Peak.
Looking back down the gully as we progress.
Approaching the saddle.
At the saddle, heading east toward Bridge Point.
Looking back along the ridge toward Bridge Mountain (right) and Bridge Vista Peak (center). Bridge Point is behind me.
Bridge Point summit ahead.
Another shot at Bridge Mountain just below the summit of Bridge Point.
Bridge Point summit, looking northeast toward Calico Hills.
Bridge Point summit, looking south toward Rainbow and Wilson.
Back at the saddle, looking west toward Bridge Vista Peak. We came up from the left (south), and had to drop to the right (north) over the saddle to get up to the summit.
Heading down the north side of the saddle. The route goes to the trees below and then turns left up another gully.
Within the trees, headed up the gully.
Looking down the gully at Austin scrambling some Class 2+. The route continues to the left and then up serrated slickrock.
Austin coming from the left and approaching the serrated slickrock.
On the slickrock, looking down the way we came. Bridge Point is visible on the top right.
Heading up to Bridge Vista Peak.
Bridge Mountain's gorgeous east face.
Bridge Vista Peak's summit block. I scrambled up the Class 5 face you see ahead. Don't do that. Continue just right of the summit block past the tree.
Looking back from the base of the summit block.
Austin slowly making his way around the summit block's west side to get to the south side. There's a few hundred foot drop here, and the rock is a bit loose. Move with care.
Along the ledge.
Looking back along the incredible ledge on Bridge Vista Peak's south side.
Austin using a fixed line to ascend the Class 4 chimney. It's not exposed - there's plenty of space on the ledge were he to fall.
Bridge Vista Peak summit.
Bridge Vista Peak summit, looking south toward Rainbow Wall.
Bridge Vista Peak summit, looking west toward Bridge Mountain.
Hire me or show me some love!
Hire/refer me as a web developer or send me a few bucks if you find my site useful. I’m not sponsored, so all fees are out-of-pocket and my time preparing trip reports is unpaid. I really appreciate it!