

Badger Trail trailhead.
Along the Badger Trail, which snakes around the foothills. AZ-93 seen on the right.
View back toward the trailhead.
The trail wraps around to the east side of the hills, where the highway is now out of sight.
View back.
The Badger Trail leads to a minor ridge above.
View back down the switchbacks. I came from the left in this photo. You can see AZ-93 in the distance.
At the minor ridge, Castle Rock seen left. This is a junction with the Castle Rock Trail, which I followed.
View back toward the junction.
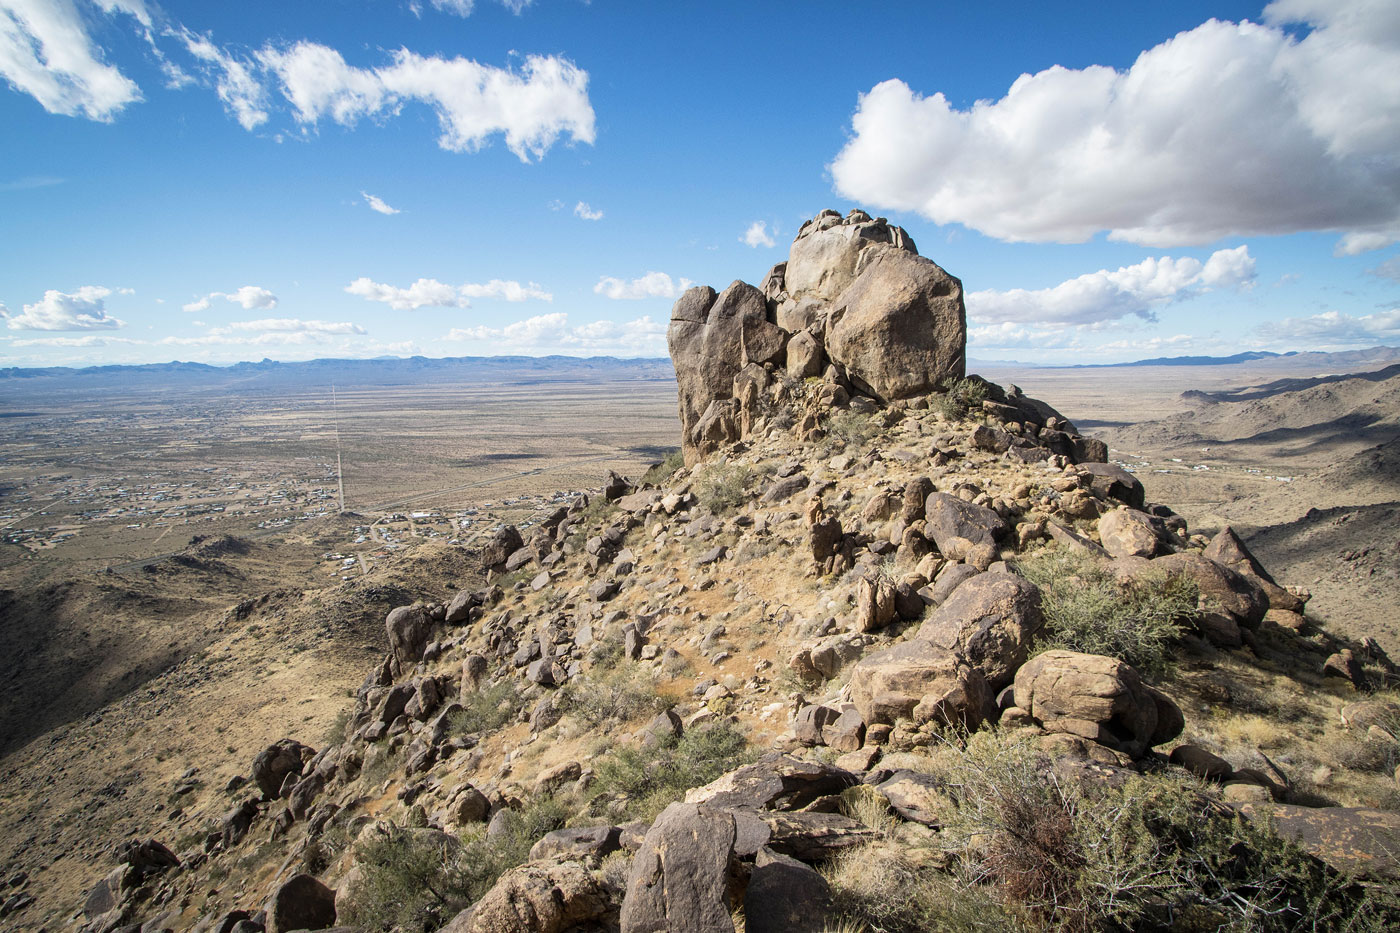
Castle Rock ahead.
End of trail sign. I continued through the boulders ahead, Class 2.
Class 2 through the boulders, Castle Rock poking up ahead.
View back.
Castle Rock ahead.
Close-up of Castle Rock. Nothing looked good on this side. I wrapped around it on the right.
View back as I wrap around.
View at the Class 3 stacks of boulder slabs. Ascending here is tougher due to the large boulders, but if you drop just right you can use Class 2/3 boulder-hopping instead.
Class 2/3.
At the base of the scramble.
View down the first section.
Second portion of the scramble.
Close-up at the final bit.
View down the whole Class 3 scramble.
On top of Castle Rock view back the way I came.
Hire me or show me some love!
Hire/refer me as a web developer or send me a few bucks if you find my site useful. I’m not sponsored, so all fees are out-of-pocket and my time preparing trip reports is unpaid. I really appreciate it!