I provide a free route map, but you can also download a hike/drive GPX to assist you and to help support my site. Before sharing my GPX tracks with others, please remember my site is a free resource and I'm charging nominal fees to offset my substantial costs.
GPX track added to your cart.
Mar 17, 2022 — This hike traverses an uninspiring loop of peaks roughly in the center of the McCullough Range that I likely wouldn't recommend to anyone unless there's nothing else left of interest in the greater Las Vegas area. The tedious terrain through much of the route wasn't offset by particularly nice views and even though I enjoyed myself, I questioned my hobby choice a couple of times, wondering if my time would be better spent elsewhere than these weird hills outside of Las Vegas. My hiking companions (non-peakbaggers) felt similarly. Our loop was composed of a small cluster of desert humps in a small region nestled between the North McCullough Wilderness and the South McCullough Wilderness, an area that seems to have been completely overlooked by any sort of protective agency, relegated to being mining and shooting territory. We copied much of Adam Walker's efficient route for bagging all the peaks in this loop. Reaching the trailhead is doable by any vehicle, and Google had no issue getting us there.
We set out from a pullout along Liteweight Road, a (mostly) paved road leading out to a mining operation out here. On foot we headed west along a dirt road and arrived at the base of Tortoise Foot Hill. You could drive along this bad dirt road, but there's really no point since the loop ends up right back to the pavement anyway. We left the road and made our way up the progressively steepening slope to Tortoise Foot Hill, which slowly introduced more and more black boulders. From this minor summit, we dropped south off its rim and descended the same boulders typical for the McCullough range farther north, crossed the dirt road we walked in on, and headed up the tamest-looking slope we could find to reach Bad Hill. There was some steeper stuff here with some Class 2, but it wasn't a memorable peak.
From Bad Hill's summit we started east toward Peak 4040, a sub-peak along the way added Class 2 on loose rock and even some unexpected scree. Animal trails help to weave up this slope. A short section of flat hiking led to the final ascent to Peak 4040, more Class 2 with some particularly loose portions, as well a couple of slightly more fun moves. Continuing east along the ridge crest, we encountered a few bumps and rock outcroppings that we kept to the left of on more tedious terrain. Eventually we descended to a lower mesa-like feature, and then descended further on Class 2 to the base of Peak 4027. Class 2 brough us up some interesting-colored rock and to this fourth peak for the loop. We backtracked the same way we came up from this peak. You may notice Austin and Chelsey only appear in the first half of my trip report, this being because the terrain is slow and tedious and therefore not fun for non-peakbaggers, requiring me to return to repeat the loop another day alone.
I continued alone to the south, making my way up the Class 2 northern ridge of Peak 4360, the tallest peak of the loop. An animal trail led much of the way up the ridge. The summit is located at the southern end of the extended, flattish peak. McCullough Mountain was visible fairly prominently to the south. I didn't linger, continuing east along the slowly descending slope on much better terrain. A significant obstacle formed by a minor cliff band (reportedly Class 3 by Adam) met me along the ridge crest, but I decided to scout around the north side of the obstacle to try to locate an easier-looking route. I found a Class 2+ weakness, but you could likely just continue side-hilling to avoid the scramble altogether if you want. Back on the crest, I continued descending to the saddle with my next peak, Hole Benchmark.
There are some really delightfully colored yellow rock formations (pyroclastic, I think?) that devolved into the same black boulders prevalent along the rest of the hike so far. Hole Benchmark had a nice perspective toward the peaks I'd done so far, but otherwise wasn't memorable. I dropped down loose terrain to the north and joined a dirt road, which I followed for about a half mile until I reached the base of Peak 3934. Steep, fun Class 2 boulder-hopping led me to the west side of Peak 3934, and a bit of exploring along the base of the peak revealed that it was quite protected by a 20-foot cliff band. I located a Class 3 weakness and scrambled up, adding a cairn at the top of the weakness so I could remember where it was on my way back. A couple hundred feet of Class 2 took me to Peak 3934's summit. This was the nicest peak of the loop, in my opinion.
I dropped off Peak 3934 and descended along its northern ridge, where an animal trail led me down on soft terrain into the wash below. Next up was Peak 4292, the final peak of the loop. I followed this wash as it meandered north and slowly became more choked with colorful boulders. The wash bent to the east and I was confronted with a 30-foot sheer dryfall, but a Class 2 slope on its right led to a somewhat exposed Class 2 ledge that took me above it safely. Past here, I continued ascending north on Class 2 boulders as I made my way up Peak 4292. The Liteweight Mine's operations were now completely visible below to the west, but I doubt the workers still fiddling around with machines cared I was up here if they'd noticed me. Some Class 2 side-hilling brought Peak 4292 into view and I headed up more Class 2 to the summit.
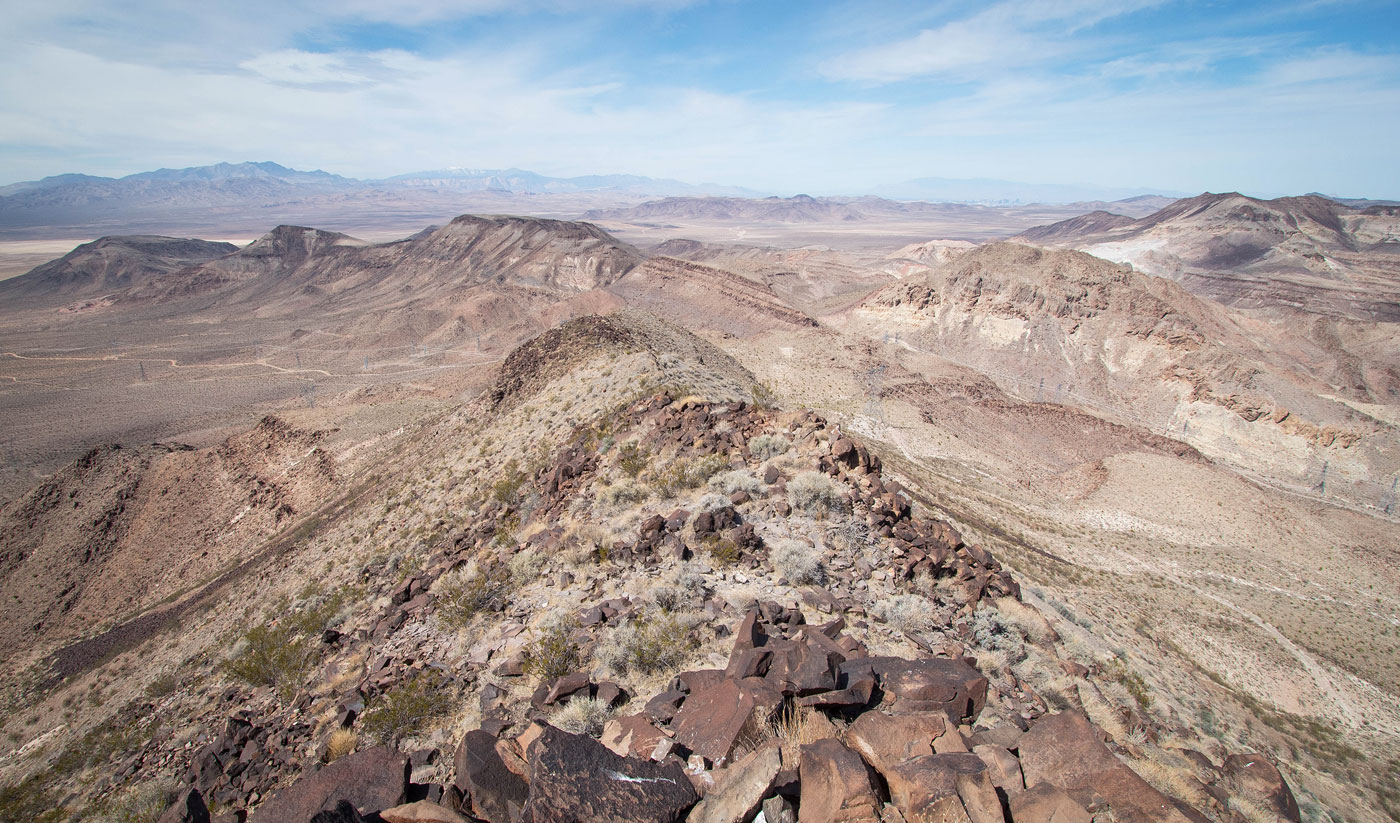
I could see the entire loop from Peak 4292's summit, prettier from up here than expected. The last two peaks of the loop were certainly the highlight of the hike and maybe worth doing if you prefer to omit the first six. I backtracked along the ridge and descended steep, loose crap leading toward the Liteweight Mine. Along the way down there was a hard-to-see cliff on the left and a cool-looking chasm on the right, but I managed to thread this needle and got to flatter terrain below. Rather than descend to the mine (trespassing) and taking the convenient road leading back to my car, I headed northwest away from the mine on mostly pleasant terrain and was back at my car as the sun was setting.
Please consider helping me out if you find my site useful. I'm not sponsored, so all site fees are out-of-pocket and my time preparing these trip reports is unpaid. You can also hire me as a web developer. I really appreciate it!


If you find my site helpful, please help me replace my many broken cameras, fund my website fees (hosting, APIs, security), or just support my countless hours of work. I pay for all expenses myself, and all trip reports I post are unpaid and unsponsored, so any support is really appreciated!
If using PayPal, please select their option for "Sending to a friend" so they don't take out fees, thank you.
My site is free to use, but consider sending me a few bucks to help keep it running. Thanks in advance!