

Starting along the Wetterhorn Basin Trail. You can see Coxcomb Peak on the distant left/center (it's the boxy one).
Coxcomb Peak visible top left.
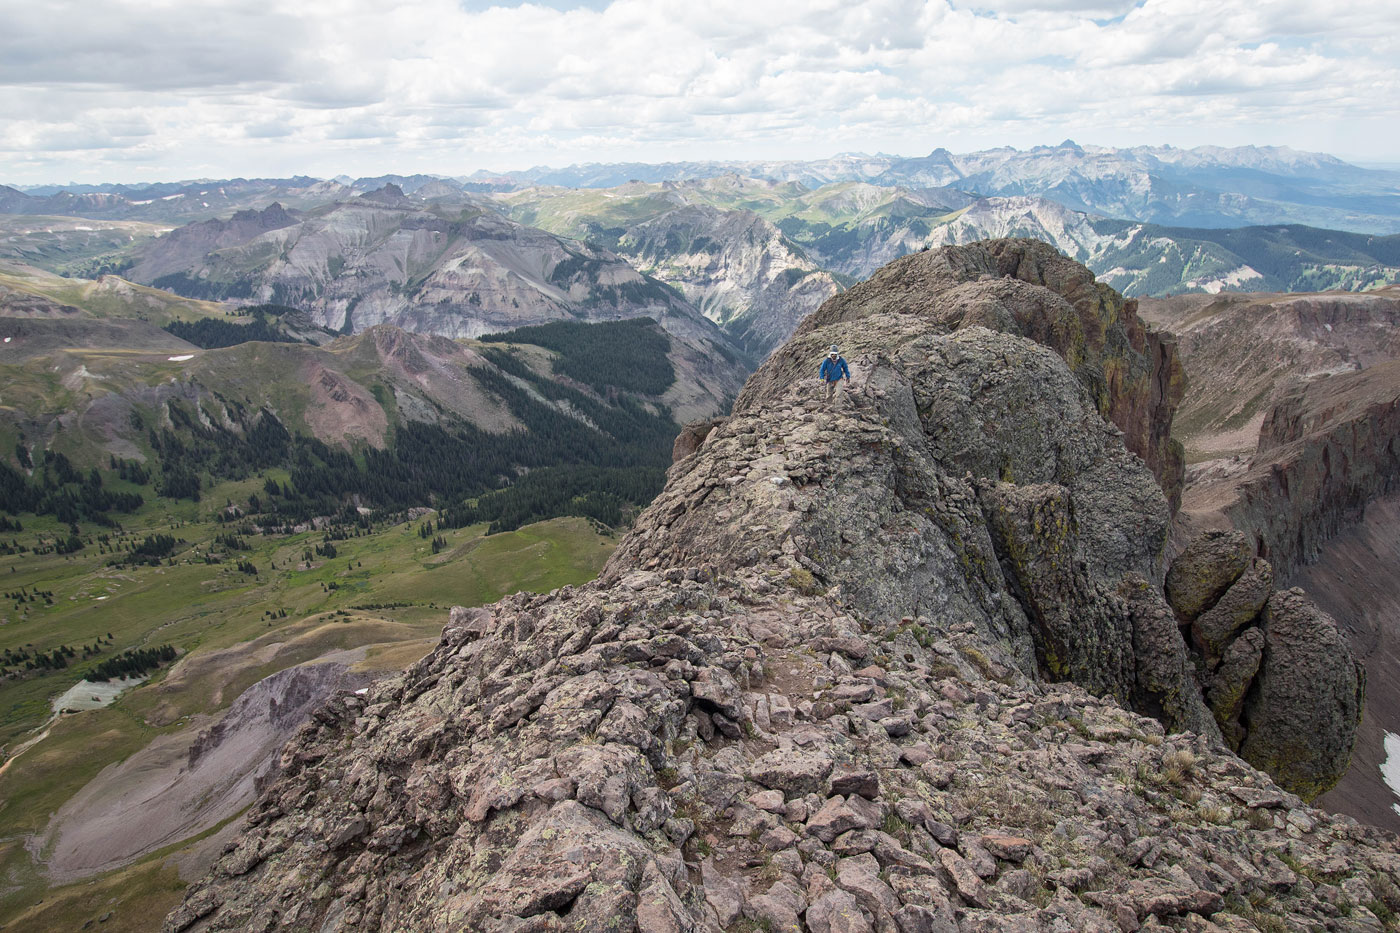
Wetterhorn Basin Trail continuing up to the pass in the center of this photo.
Looking back the way we came, along the Wetterhorn Basin Trail. This was a slightly difficult to follow section on some talus.
Looking back again along the Wetterhorn Basin Trail, just below the pass.
At the pass, looking south as we begin descending.
Wetterhorn Peak in the distance. The trail wraps around to the south side of Coxcomb Peak, but we would leave well before that.
After leaving the trail, heading to Coxcomb Peak (visible top right).
Grassy slopes with some rocky sections.
Class 2 obstacles, but otherwise mostly just a steep grassy slope approach.
Class 2 section to a cliff face.
Looking back along the cliff face. We ascended from the grassy section below on the left. The pass we descended from is above Ben's head.
Class 3 weakness in the cliff face.
Ascending the Class 3 weakness, Wetterhorn in the background.
At the top of the Class 3 weakness, some Class 2 talus to get to the start of Coxcomb Peak's technical section. The route starts behind the big boulder just right of center.
Looking back as we ascend the Class 2 talus, Wetterhorn Peak top left.
At the base of the first pitch.
First pitch, 15 feet of Class 5.
Second pitch, Class 3.
Continuing up the Class 3, second pitch.
Looking down the second pitch. Out of frame on the top right is the anchor station we used to rappel later.
Hanging out at the base of Pitch 3 as Ben set up the route for us.
First section of Class 4 within Pitch 3.
Looking down the narrow gully that comprises Pitch 3.
The top of, and crux of, Pitch 3.
At the top of Pitch 3, looking back as we scramble up the Class 3 section to get to safer ground.
Social trail leading along the ridgeline.
Coxcomb Peak visible ahead. Redcliff Peak visible on the left. Friends are hanging out as Ben sets up the anchor for our rappel into the notch obstacle.
Whiley rappelling down into the notch. Ben is at the base of a stiff Class 3 move out of the notch. Marisa is taking a photo from across the step-across exposed move, just below the Class 3 gully to get back to the ridgeline.
Ben scrambling up the Class 3 gully to get to the ridgeline.
Onward to Coxcomb Peak.
Looking back from Coxcomb Peak toward the ridgeline we traversed.
View toward Wetterhorn, Matterhorn, Uncompahgre Peaks.
View toward Redcliff Peak, the Wetterhorn Basin Trail we approached on to the left.
Back at the notch, a shot of Ben down-climbing the Class 3 move. You can see the route we rappelled down. The crux is the small bulge in the center.
At the top of Pitch 3, rapping down.
Top of Pitch 1 on the bottom left, Whiley heading up to our anchor station top right (Class 2+ to get there).
On the way back along the Wetterhorn Basin Trail.
Last shot toward Coxcomb Peak on our way back to the trailhead.
Hire me or show me some love!
Hire/refer me as a web developer or send me a few bucks if you find my site useful. I’m not sponsored, so all fees are out-of-pocket and my time preparing trip reports is unpaid. I really appreciate it!