

After leaving the road and entering the canyon separating Checkerboard Mesa from Crazy Quilt Mesa.
Heading up the sandy canyon, a social trail helps to avoiding some minor obstacles.
View back from the saddle before descending into the backcountry.
A fairly obvious trail leads to the West Fork of Misery Canyon. this is a view back as we head through the desert.
Plenty of slickrock mixed in, cairns helping us keep to the route.
Another shot back along the social trail.
The slickrock ridge ahead is where we'll be returning later on the canyon exit.
Ascending the slickrock before a final descent into the West Fork.
View back as we ascend the final slickrock ridge.
Heading down into the West Fork of Misery Canyon.
Some cute potholes at the head of the canyon.
First rappel.
View back at the first rappel.
Looking up at some debris stuck in the slot.
Beautiful narrows.
A shot of me on a tricky down-climb.
The canyon opens up occasionally. Here we are going back into a short section of narrows.
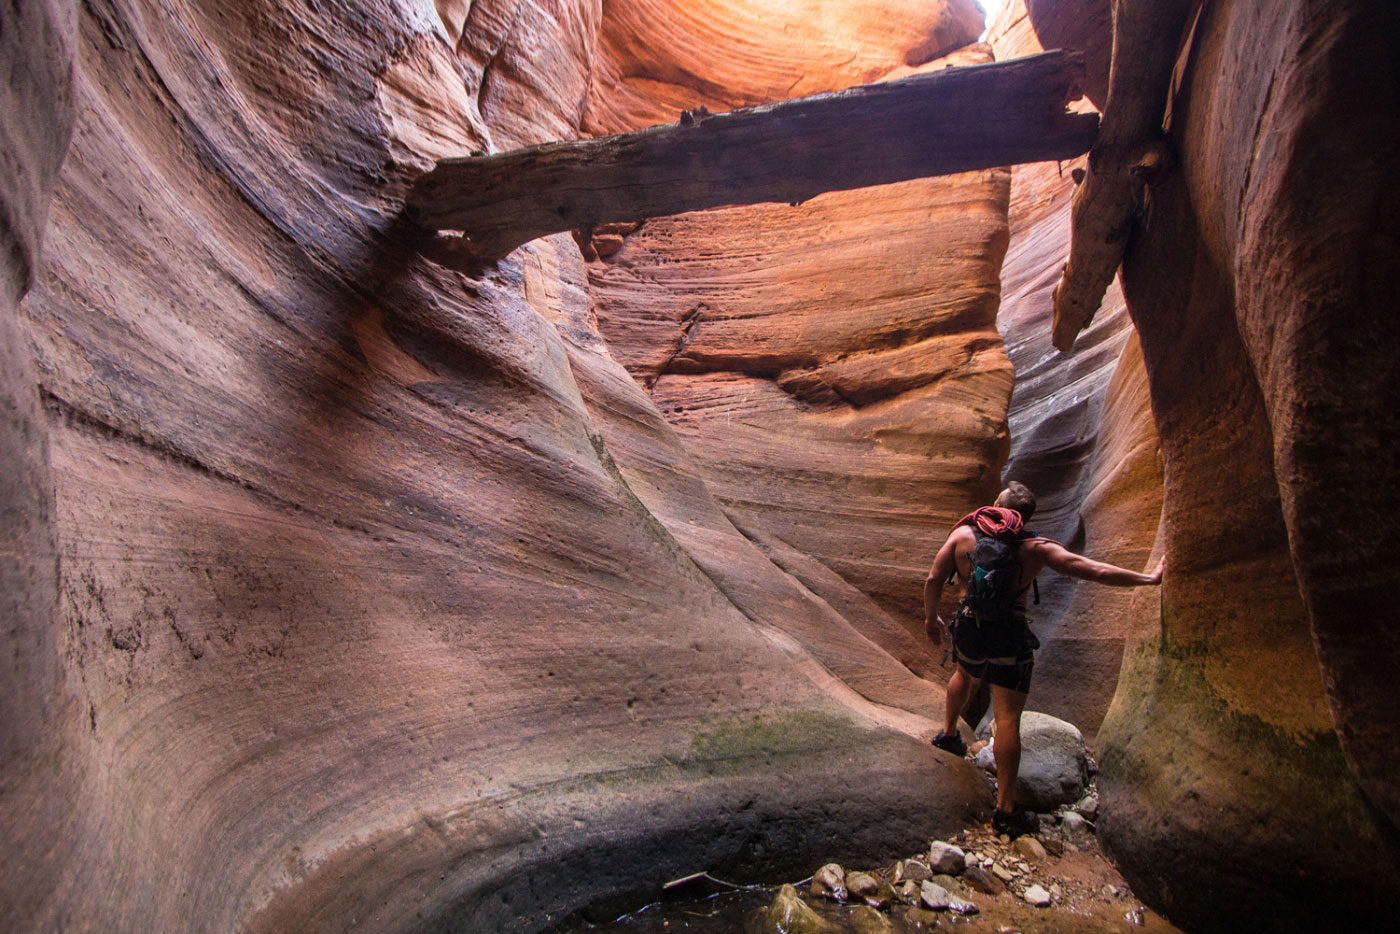
Natural arch within a section of the narrows.
A rappel or handline goes directly next to the arch, really beautiful.
Not a flattering shot of Mike and Scot, but I liked the photo so there.
Scot goofing off as usual.
A fun slide into some water.
Approaching the confluence with Fat Man's Misery (East Fork) seen on the left.
After a rappel from a tree, followed by some short narrows, we had a final short rappel to get into the East Fork. This is a view back up at that last rappel, about 40 feet from a tree.
Continuing down the canyon past the confluence. It only gets more interesting from here.
The double arch that hovers over a full swimmer.
Looking back at the double arch.
Mini down climb into a warm spring.
Swimming through the warm spring.
Exiting Misery Canyon and entering The Barracks (Parunuweap Canyon).
Looking back toward Misery Canyon's mouth.
Heading through the Barracks.
Don't miss the exit scramble on the right.
Class 3 scramble out of the Barracks.
Last bit of Class 3. Photos from here on are from another trip through Fat Man's Misery.
Above the Class 3 scrambling. A social trail leads across the slickrock on the left. It's likely you could just ascend high yo the top of the ridge on the left, but we chose to take the trail.
View back across the slickrock. We came from the right in this photo.
Trail traverses along a sloped bench for a while.
View back toward the bench traverse.
Cairns help mark the way, but following the trail can get tricky here.
Trail begins to thin a bit, but begins ascending toward the ridge above.
The ridge seen above, but slickrock makes following the trail more difficult.
After reaching the ridge above, we continued on a better social trail leading north.
Through some cute sandstone formation.
The hump seen center is where we dropped into Fat Man's Misery earlier. The trail heads toward it and gets lost on the slickrock, so we navigated to the main approach trail.
View back along the slickrock a bit before reaching the approach trail, which we took back.
Hire me or show me some love!
Hire/refer me as a web developer or send me a few bucks if you find my site useful. I’m not sponsored, so all fees are out-of-pocket and my time preparing trip reports is unpaid. I really appreciate it!