

First junction shortly after leaving the trailhead. Right leads to Crystal Lakes via an awful dirt road, this route.
Toward the end of the mostly boring dirt road, Mount Helen visible on the left.
Approaching Lower Crystal Lake, Father Dyer Peak visible top left.
Lower Crystal Lake. The road continues to the left, follow it.
At the end of the road, view toward the rocky and dangerous-looking ridge. Instead of going directly up the ridge, the route heads toward the minor gully in the talus on the left.
Heading up the talus, view back toward Crystal Lake.
Grassy slope with some Class 2 to gain the ridge.
On the ridge, view toward the route to Father Dyer Peak.
Looking back along the ridge, Lower Crystal Lake visible on the left. The Class 2 route to gain the ridge comes up the slopes on the right in this photo.
Class 2/3.
It's a pretty tame Class 3 ridge.
Looking back at my progress.
A slightly more thoughtful section. A fairly obvious social trail leads through most of the scrambling the entire way up the ridge.
Avoiding some scarier Class 3+ stuff along the ridge by staying to the right of the crest.
Looking back at one of the scarier portions of the ridge. The route came up on the left of the ridge in this photo, avoiding the crest for a short time.
Final Class 2/3 stuff to the false summit of Father Dyer Peak.
Looking back again at my progress, Helen Mountain visible top right.
Almost at the false summit, looking back along the entire ridge scramble.
Father Dyer Peak ahead, Pacific Peak also visible far top right.
Quandary Peak visible on the distant left, Father Dyer Peak top right.
Looking back along the ridge, Upper Crystal Lake visible on the left.
Class 2 from Father Dyer Peak to Crystal Peak (right). You can see Pacific Peak on the left.
Along the route to Crystal Peak, Peak 10 on the left and Father Dyer Peak on the right.
Crystal Peak summit, view south toward Pacific Peak (right) and Quandary Peak (left).
Heading down Crystal Peak on my way to Peak 10.
Grassy section on the way to Peak 10, ahead.
Peak 10 summit ahead after some more Class 2.
Looking back from just below Peak 10's summit. Crystal Peak visible top right, Father Dyer Peak on the left, shadowed by Quandary Peak in the distant top left. Upper Crystal Lake center.
Close-up toward the Father Dyer ridge scramble (center), and Lower Crystal Lake on the bottom left.
Peak 10, view toward Peak 9 in the center. This is the north ridge, which is the route down that I took, but likely would recommend less than the other route I added to my trip report map.
Awful Class 2 descent off Peak 10. In the center you can see the likely preferable route (though longer) from Peak 10, a nice dirt road.
Looking back up the nonsense route I took down Peak 10.
Peak 9, a boulder field away. Taking the road would have avoided all the talus.
Almost on Peak 9, view back toward Peak 10 (center) and Crystal Peak (right). You can see the alternative road route down from Peak 10 on the left.
Peak 9 summit.
Heading down Peak 9's easy ridge toward the road. You can't see Wheeler National Recreation Trail from here, but it heads through the green section below.
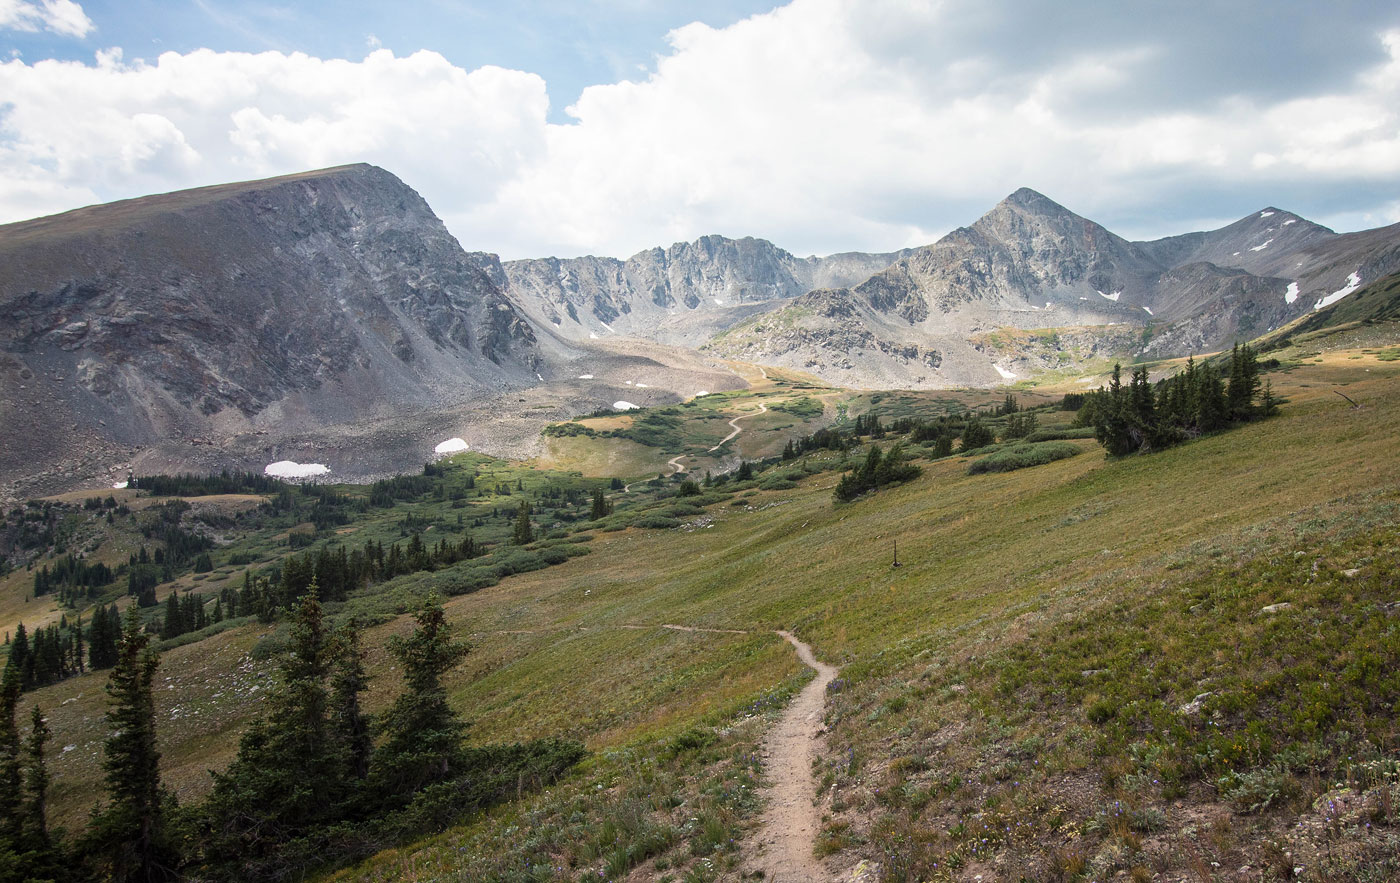
Along the Wheeler National Recreation Trail.
Looking back toward Peak 9 (right) and Peak 10 poking out on the left, while along Wheeler National Recreation Trail.
Wheeler National Recreation Trail wraps around the hump formed by Peak 10's ridge before descending.
Descending back down into the Crystal Lakes Basin.
Wheeler National Recreation Trail. You can see the dirt road I hiked up to Crystal Lakes on in the center. Helen Mountain visible top left. Father Dyer Peak right of center, and Crystal Peak top right.
Continuing down on the Wheeler National Recreation Trail before joining back up with the approach dirt road, completing the loop.
Hire me or show me some love!
Hire/refer me as a web developer or send me a few bucks if you find my site useful. I’m not sponsored, so all fees are out-of-pocket and my time preparing trip reports is unpaid. I really appreciate it!