

Starting from the Highline Trailhead on a social trail leading east.
The spur ridge option (Class 4 move) is seen on the right. I took the steep gully at the top of the slope seen center.
View back toward Bald Mountain just as I start up the slope, leaving the social trail.
Class 2 up the slope.
Approaching the gully.
View back down the gully. Class 2+.
Steep, loose stuff within the gully.
Past the gully you should take a moment and decide which way up you want to go. You can keep the slope Class 2/3 if you pay attention. The ridge crest is seen just above.
View back down the gully from the ridge crest.
Along the Class 2 ridge to Hayden Peak, seen left.
Class 2 blocky fun.
View back toward Mount Agassiz.
Approaching the first headwall. Keep left.
Left of the headwall, head to the center of this photo.
Class 2/3 blocky stuff.
View back down the scramble and the avoided headwall.
Flattish section leading to the second headwall.
I kept right at the second headwall on a Class 2 wide ledge.
View back along the wide ledge.
The ledge ended and I started up the Class 2/2+ boulder slope.
Nearing the crux.
View back down the Class 3 crux move.
Hayden Peak summit, view east. McPheters Lake seen below.
View toward Kletting Peak and A-1 Peak, north.
Close-up toward Mount Marsell and Bald Mountain.
Middle Basin, Mount Agassiz seen in the center. That's next!
Close-up of the ridge traverse I'll be doing.
Mount Agassiz ahead. The ridgeline begins with a cool section of crevasses forming a maze.
View back toward Hayden Peak along the traverse.
Short drop to a small cliff band, the first ridgeline obstacle.
Keep right and use a Class 3 pull seen far right in this photo.
The second obstacle along the ridgeline. Class 2 to the notch below.
Second Obstacle.
Class 2+ up the second obstacle.
View back along the ridgeline.
Close-up of the Class 2+ section from the notch.
Onward along the ridgeline.
View back toward Hayden Peak.
Mount Agassiz ahead.
A few hundred feet drop to the saddle. Keep right of the crest to avoid the steepest, loosest boulders.
Heading up to Mount Agassiz. I kept right of the ridge until about 12000'.
A shot back at Hayden Peak (right) and the descent I just did to get to the saddle (left).
Keeping right of the ridge.
And then I gained the ridge crest for some fun scrambling. Keeping right until the summit is doable, but looked more loose.
Class 2/3 moves to Mount Agassiz on terrace-like formations.
View back along the ridgeline.
Along the crest. There's a cool slot-like feature seen center-top of this photo.
Mount Agassiz summit, view east.
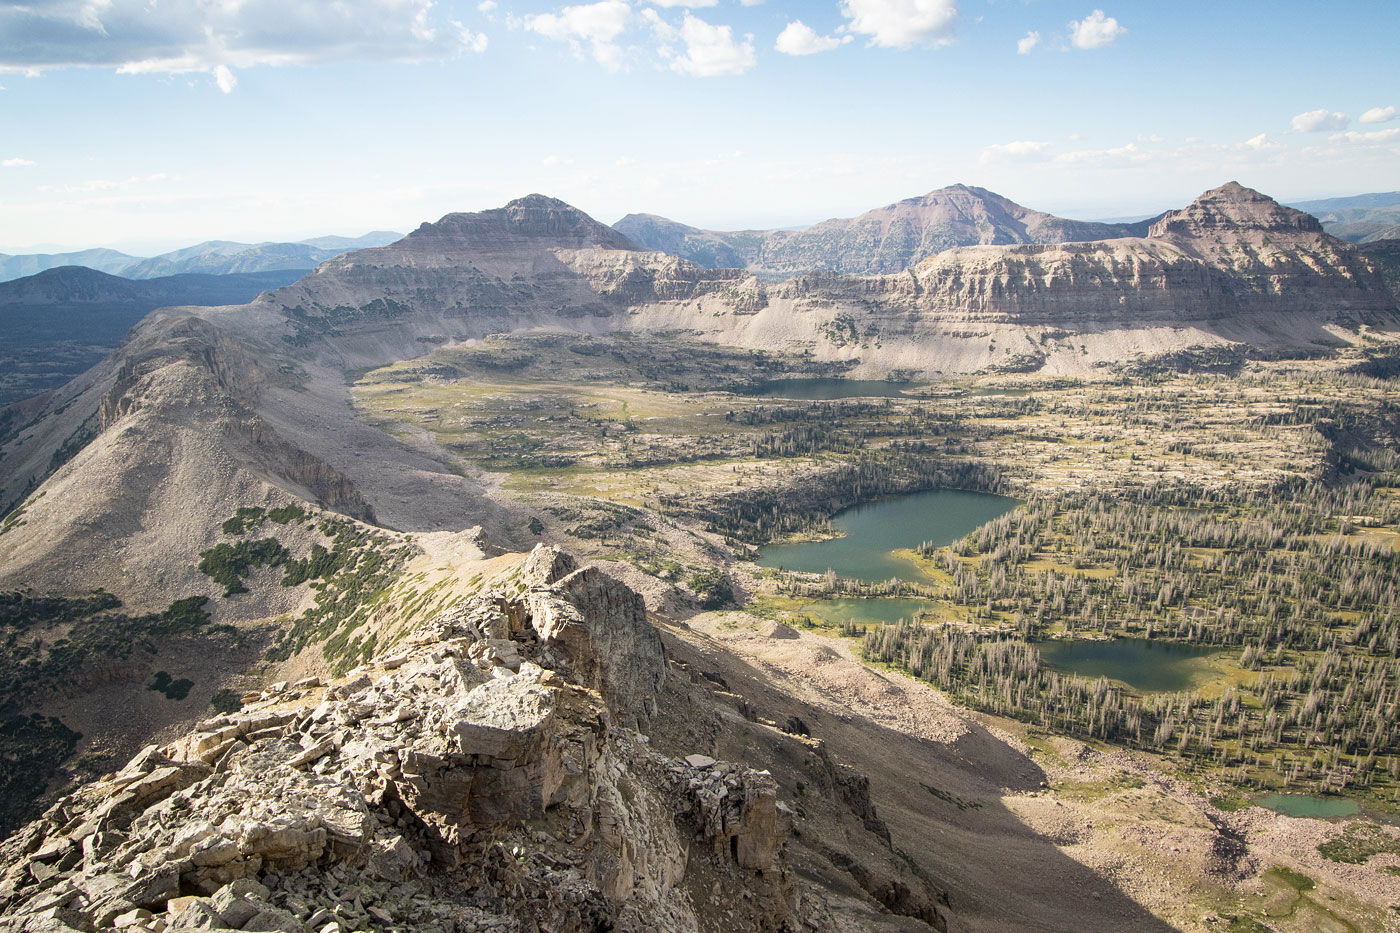
Shot into Middle Basin. Hayden Peak seen left, and the ridgeline I just traversed far left.
View back along the ridgeline.
Back at the saddle, I descended south on this Class 2 slope.
View back toward the saddle within a pretty meadow.
Descending into the forest.
Burn area.
View back toward the ridgeline.
Mostly easy forest terrain.
But also some light bushwhacking.
Another shot back toward the ridgeline from within a meadow.
I made it to the Highline Trail and headed north back to the trailhead.
Mount Agassiz seen in the distance (right) along the Highline Trail.
Hire me or show me some love!
Hire/refer me as a web developer or send me a few bucks if you find my site useful. I’m not sponsored, so all fees are out-of-pocket and my time preparing trip reports is unpaid. I really appreciate it!