Mar 10, 2019 — The combination of Ibex Peak and Haystack Peak made for one of my favorite desert scrambling adventures. Though the scenery is pretty, but not particularly insteresting, the value of this hike lies in the unique, fun, and sometimes cryptic route-finding. I was initially skeptical about attempting these summits (particularly Haystack) alone because I had minimal beta, since the small paragraph written in Courtney Purcell's book seemed to be the only available info. The drive out was a long three miles on mostly reasonable road, though rocky, and the peaks seemed particularly foreboding. But I was feeling psyched, so there's that.
I parked my car in a happy spot at a junction of rougher roads, fixed my goal on Ibex Peak first, and set out on the wrong road. Great start. CP writes that you should trudge up the slope leading to the base of Ibex, but I ended up being happy with my chosen route regardless. It follows a mostly solid rocky ridgeline to just below the sheer cliffs of Ibex Peak, rather than going up the slope. I added CP's recommended route (or my estimate of it, rather) on the map attached. Either way, you'll end up at the base of an imposing cliff, but a Class 2+ gully leads directly to the right and safely to the ridgeline. There's maybe a single easy Class 3 move. Continue through a cholla cactus forest to the summit on an easy, pretty slope. Check out the route to Haystack Peak from here. It looks formidable. I gulped, and realized I forgot to bring food, so that was cool.
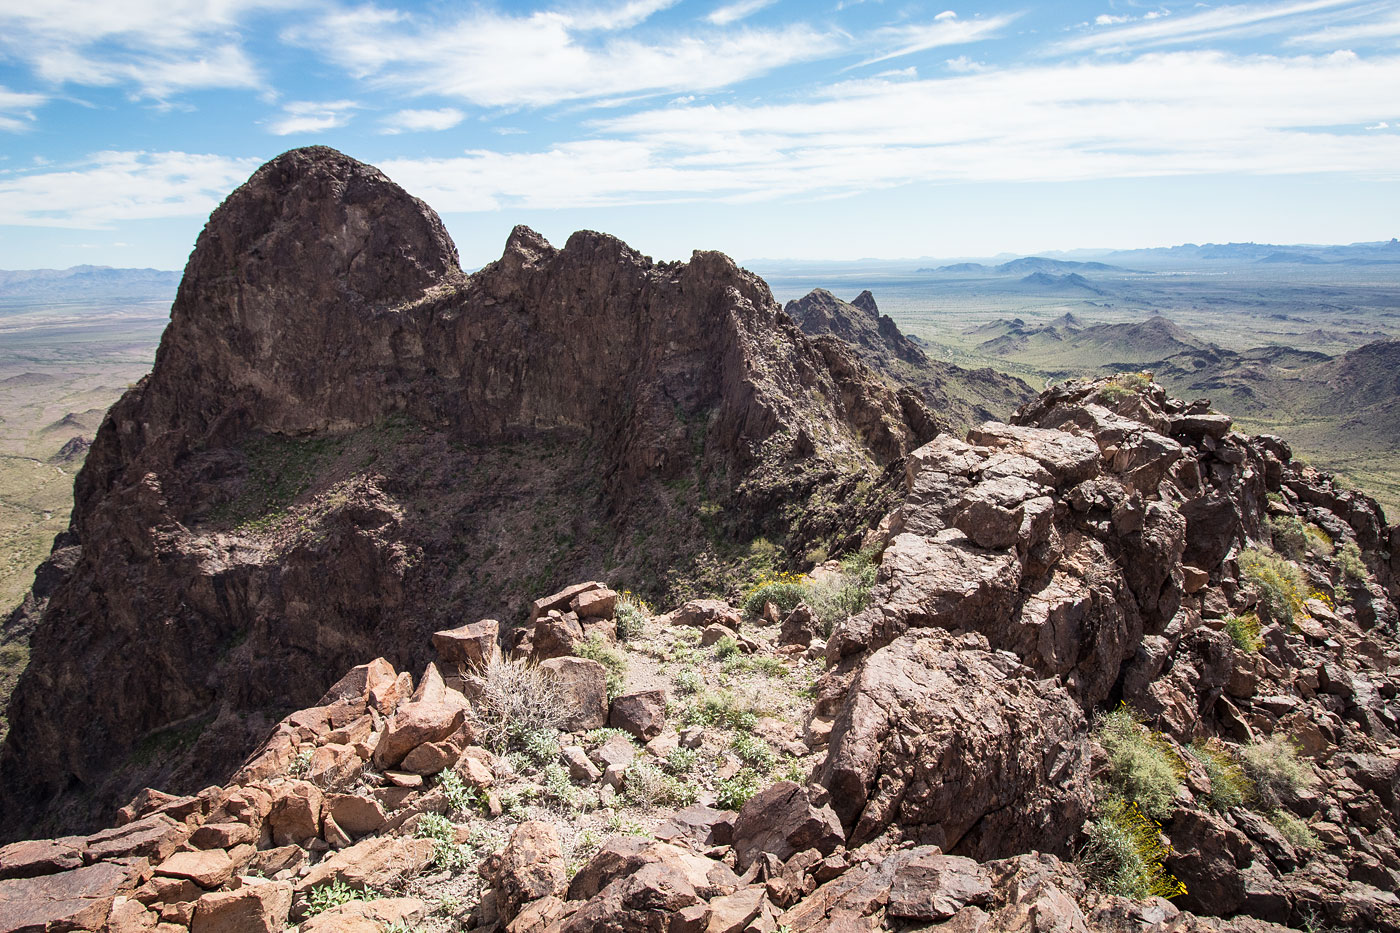
Head back down through the gully to the base of Ibex and traverse whatever way you feel fit to the saddle of Ibex Peak and Haystack Peak. Follow the cliff base below Haystack Peak's west peak, where you could make the mistake I did and scramble up a Class 3 thing prematurely (purple line on map). It goes, fortunately, but the more reasonable route is if you keep following the cliff band and turn lef tup a sizable Class 2+ gully leading to the ridgeline. A Class 2 slope leads to the western peak of Haystack Peak, where you get an absurdly cool view of the ridgeline leading to the summit.
Head down from the west peak along the ridgeline and note from the base of the obvious crux that the north side of Haystack is purely cliffs, while the south side is... also cliffs? Though the route appears ridiculous, it consists of a couple of Class 3 moves with exposure. Traverse east as you ascend. This section is really interesting and the rock is really solid, but be careful you don't go the wrong way. There were no cairns, so I left it that way. Once past the airy ledges, you'll get to a junction: continue higher on Class 3 blocks to three humps leading to a dead end, or scramble down a Class 3+ ridge to a small notch, where you'll be on lower ground and more easily traverse to the southeastern side of Haystack Peak. I know this because, you guessed it, I chose to go higher and hit the dead end initially. The traverse on lower ground is on a mellow slope and leads to a couple more Class 3 moves to the summit. I loved this peak.
Please consider helping me out if you find my site useful. I'm not sponsored, so all site fees are out-of-pocket and my time preparing these trip reports is unpaid. You can also hire me as a web developer. I really appreciate it!


If you find my site helpful, please help me replace my many broken cameras, fund my website fees (hosting, APIs, security), or just support my countless hours of work. I pay for all expenses myself, and all trip reports I post are unpaid and unsponsored, so any support is really appreciated!
If using PayPal, please select their option for "Sending to a friend" so they don't take out fees, thank you.
My site is free to use, but consider sending me a few bucks to help keep it running. Thanks in advance!