

After leading the car and continuing through Burro Wash, we encountered this small dryfall.
Continuing up the wash, Picacho Peak in view on the left.
A baby slot canyon along the way.
Picacho Peak on the right. We continued through the wash, keeping an eye on the right side of the wash to locate the social trail we'd use for the standard route.
On the ridge as we wrap around Picacho Peak's south side.
The social trail heads on mostly flat terrain for a while before reaching a bouldery gully (seen on the left) that the trail avoids by staying to the left of it.
Looking back as we near the ridge.
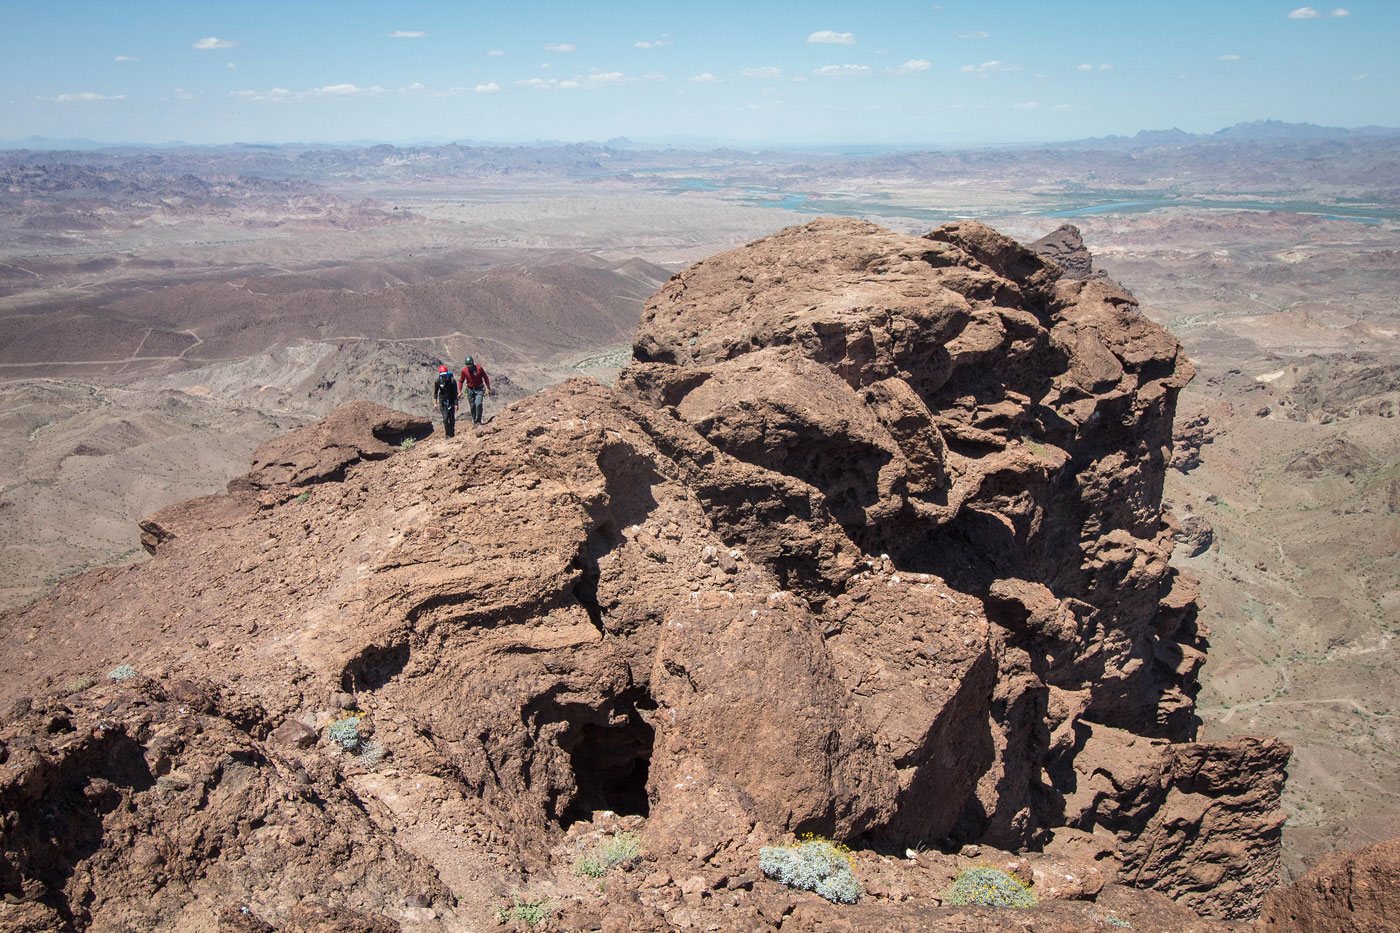
Along the ridge, a gorgeous monolith visible on the left. The vital Class 2 gully required for getting above the well-fortified lower cliffs of Picacho Peak.
Looking back along the ridge.
Approaching the Class 2 gully.
Looking back down the gully. You can see the ridge we just hiked along below.
At the notch at the top of the gully. We came up on the left. Jose is at a Class 3 move to escape the notch.
Just above the notch, a slab with quite a unique perspective serving as the route.
Just after the slab, we continued along this ramp, hugging the cliff face.
Previously mentioned ramp visible on the left. Matt is climbing the first ladder.
Just past the ladder as we continue on the interesting ledge system, where we came across the Class 4 down climb into a gap in the ledge.
Looking back at Matt down climbing.
Just past the gap, continuing along the ledge system. It was very straightforward route-finding, only one viable way to go.
Looking back along the ledges. The notch we ascended to earlier is to the left of the pinnacle in the center of this photo.
Switchback in the ledge system.
Another switchback, very cool.
Looking back at the ledge system.
The second ladder, a bit more dangerous than the first due to the drop on the left.
Looking back from the top of the ladder.
Just past the ladder, we were on the summit ridge. Little Picacho Benchmark visible top center.
Along the ridgeline.
Looking back again at the narrow and gorgeous ridgeline.
Approaching the crux, a small cliff face leading to a false summit along the ridge.
Lorenzo climbing up the crux. He's at a spot that only takes Class 3 to achieve, but from there was a serious drop on the left and a Class 5 move above.
Close-up of Lorenzo getting ready to make the move.
From above the Class 5 move, looking down at Jose on the slightly overhung crux. You can see the exposure below.
We rappelled off the opposite side, leaving the rope to re-ascend later.
Looking back along the ridgeline from just below the summit of Picacho Peak.
Picacho Peak summit, view west.
Hire me or show me some love!
Hire/refer me as a web developer or send me a few bucks if you find my site useful. I’m not sponsored, so all fees are out-of-pocket and my time preparing trip reports is unpaid. I really appreciate it!