

Starting down to the Virgin River, crossing it and heading to the opening visible on the right.
Heading up the major wash. Eventually a small drainage comes in on the left.
After heading up the small drainage, we hit the dryfall you can see on the left, and ascended the Class 2+ crack on the right.
Looking back as we ascend a gully/ridge combination.
Looking back, much higher up the ridge.
Dropping into the wash leading to Cherry Canyon, heading farther up the wash. Cherry is out of frame on the right.
Ascending a steep slope.
Still ascending, the Interstate visible far below.
Side-hilling to the ridge over there.
Looking back as we side-hill.
Dropping into Portal Canyon. A short and avoidable down climb is the first thing we encounter.
After the short down climb, the true start of Portal Canyon's narrows.
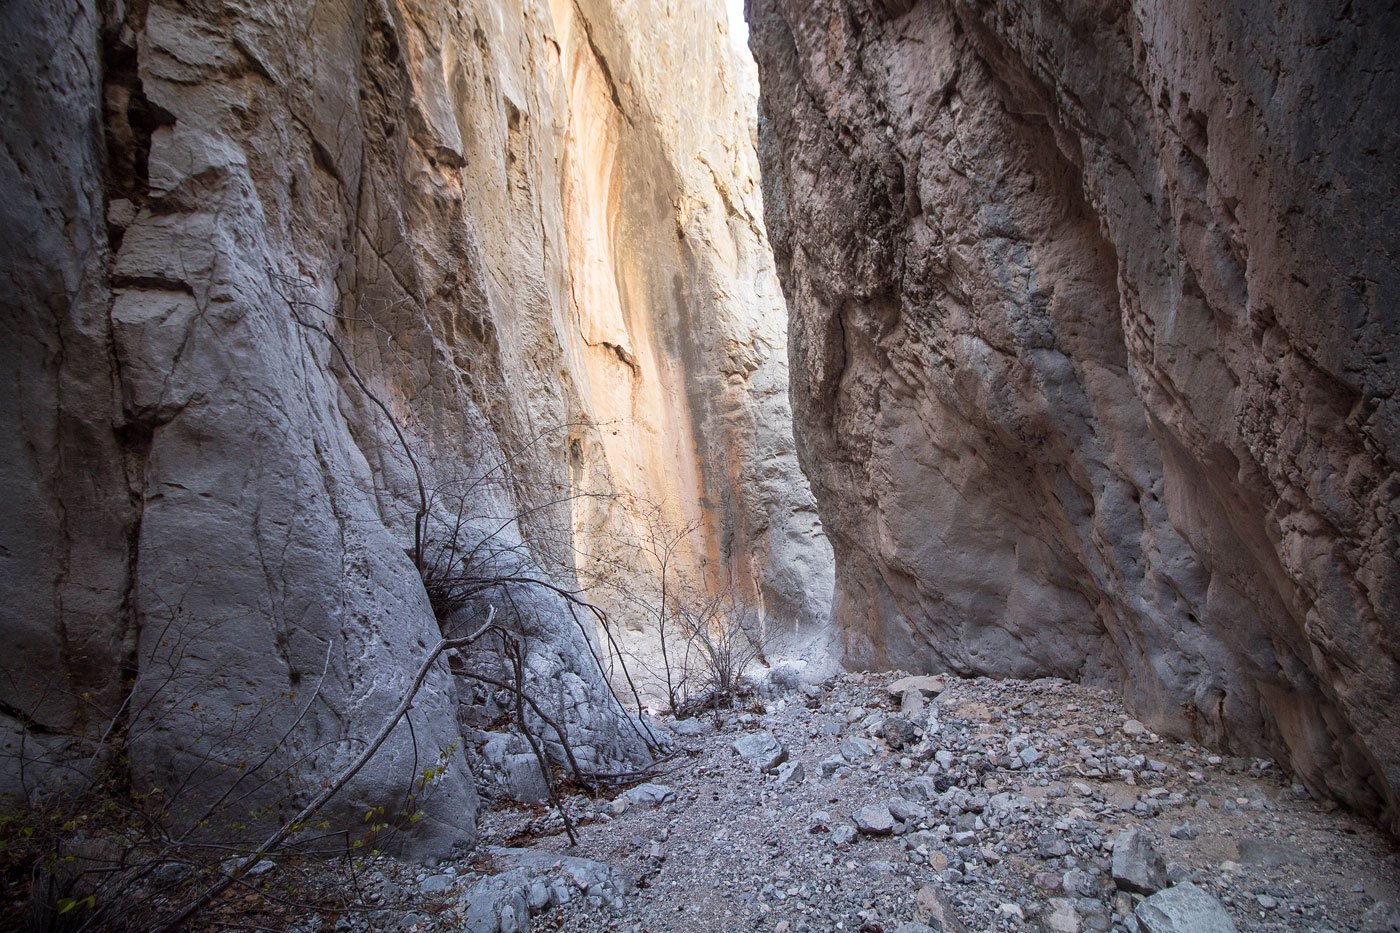
What I thought was the most scenic section of Portal Canyon.
Looking back at the prettiest part.
Big rappel.
Looking back up the big rappel. It's 2-tiered, but should be done as a single rap.
At the base of the second big, but less big, rappel.
Looking back toward the first section of narrows we descended through.
Portal Canyon narrows up again.
Lots of short little rappels to keep it interesting.
A difficult down-climb that we likely should have just set a rappel up for.
More pretty narrows as we near the end of Portal Canyon.
Last rappel out of Portal Canyon.
Portal Canyon drains into the main wash.
What some call Bonus Canyon. If you stay within the main wash, you'll get here.
Looking back at the Class 5 down climb (we hand-lined it).
Continuing back, some nice lighting on the way out.
Hire me or show me some love!
Hire/refer me as a web developer or send me a few bucks if you find my site useful. I’m not sponsored, so all fees are out-of-pocket and my time preparing trip reports is unpaid. I really appreciate it!