

Luke posing at the locked gate. We followed the road north.
A significantly washed-out portion of the old road. Sitting Monkey seen top left.
We wrapped around to the south side of Sitting Monkey on roads.
Approaching a weakness.
Narrow portion of the weakness, followed by slabby scrambling seen center.
Class 2/3.
View back down the weakness. You can see White Domes top right.
More ascending through the narrow weakness.
Ascending to the east side of Sitting Monkey's summit block. From here it was a zig-zigging Class 3 scramble, fun stuff.
View down at the first zig.
Class 3 move on a zag.
Looking down at the Class 3 move. It wasn't as exposed as this looks.
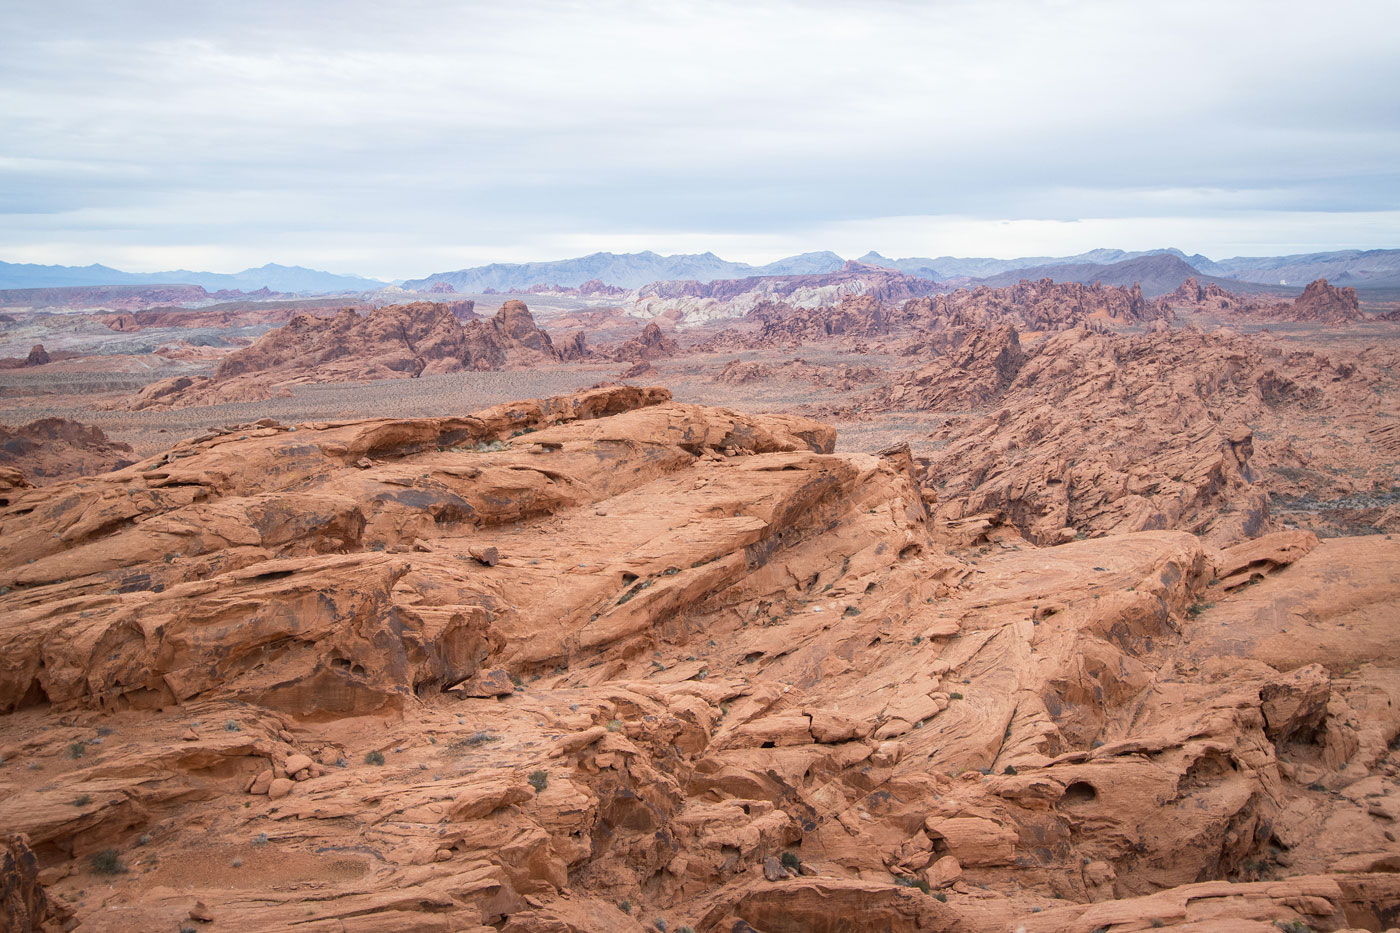
Summit of Sitting Monkey, view south toward Valley of Fire State Park.
View north toward The Momo (left) and Sand Finger Peak (right).
We wrapped around the west side of Sitting Monkey.
And then hiked within a drainage to reach the base of the peaks, seen ahead.
The Momo seen left. We reached the ATV Loop Road and took it left.
We hiked to the southwestern base of The Momo.
Wide and sandy, leading to a gash.
Entering the gash.
View back, now heading up out of the gash since there was an impassable dryfall.
Now on the right of the gash, taking Class 2/3 scrambling options to ascend higher.
Flatter section below the summit.
A view of The Momo's summit.
The Momo summit, view north.
Onward east to find another route off The Momo.
We dropped into this gash.
Class 2/3 with some brush down this gash.
It led all the way down to the desert floor.
Sand Finger Peak seen ahead, too cliffy on this side.
We wrapped to Sand Finger's south side.
And then headed up the "sand finger".
View back down the sandy slope. This shot was taken at the top of the notch, looking back down the steepness.
Class 2/3 wrapping around the headwall at the top of the sand finger. The summit is seen ahead.
View back at the bits of scrambling.
Class 2 slope to the summit of Sand Finger Peak.
Sand Finger Peak summit, view toward The Momo.
A shot along the road on our way back.
Hire me or show me some love!
Hire/refer me as a web developer or send me a few bucks if you find my site useful. I’m not sponsored, so all fees are out-of-pocket and my time preparing trip reports is unpaid. I really appreciate it!