

Bridal Veil Falls, seen from the lower trailhead.
I ascended via the road in the morning, but took photos of the Bridal Veil Falls Trail on my way back. It's pretty, but the road was more efficient and had better views.
Cascade along the Bridal Veil Falls Trail.
At the base of Bridal Veil Falls.
The route continues along the dirt road, leading to the Bridal Veil Falls power station, just past this gate.
Along the road converted to trail, paralleling Bridal Veil Creek.
Looking back as I ascend on the trail.
Junction - left leads along the Blue Lake Trail, right continues up into Bridal Veil Basin. I took a left here, and would return on the right later to complete the loop.
Old mining crap just before Blue Lake.
Blue Lake ahead, but I turned left here, leaving the trail. I'd see Blue Lake from above, anyway.
Looking back on this minor bushwhack in the shadow of the cliffs. Bridal Veil Basin is visible on the right, as are La Junta and Wasatch Peaks. Bridal Peak (my last peak of the day today) is visible left of center.
Wrapping around the cliffs, Class 2, entering Mud Lake Basin. The grassy slope I'll be ascending is visible on the left.
A tarn within Mud Lake Basin, as I make my way to the grassy slope ascent.
Grassy slope ascent, which I'd use to eventually make it up to T10.
Looking down the grassy slope, the ridge I hugged visible in the center. I wrapped around it in the previous photos. Bridal Veil Basin visible center, as are La Junta Peak and Wasatch Peak.
Continuing up the ridgeline after reaching the top of the grassy slope, view toward Telluride. Bridal Veil Falls is in the center, below out of frame.
Continuing up the ridge to T10. Three Needles visible top right.
T10 summit, view toward the crap traverse I was faced with to reach the second summit of T10. Three Needles visible on the right. I followed the ridge until the blocky scrambling became too loose for my comfort.
Loose rock along the traverse, view back the way I came.
My recommendation is to either keep as close to the ridge as you can (I hated that, but my friend Whiley said that's what she did), or just bail off the peak and re-ascend on the east ridge of T10 (visible on the left). My crap route side-hilled on scree before ultimately heading up to the summit of horrifyingly loose Class 4.
Looking back at my side-hill progress before the Class 4 crap I did. I took no photos of the loose Class 4 because I was holding on with all my strength to avoid slipping to my death. Would not recommend. Just drop down and find a better way up the east side of T10's southern peak.
T10 southern peak, view north toward the traverse of the T10s.
T10 southern peak, view toward Three Needles and the saddle. My route would head down to the saddle, then side-hill along Three Needles' southeast slope before joining the standard route.
On my way up Three Needles, view looking back toward T10 and the traverse.
Side-hilling on my way to meet up with the Three Needles standard route.
Looking back again as I side-hill.
I joined with the standard route up Three Needles, this heavily-eroded Class 3 slope.
Looking down the steep and dirty slope.
Continuing toward the Three Needles summit (top right, out of frame).
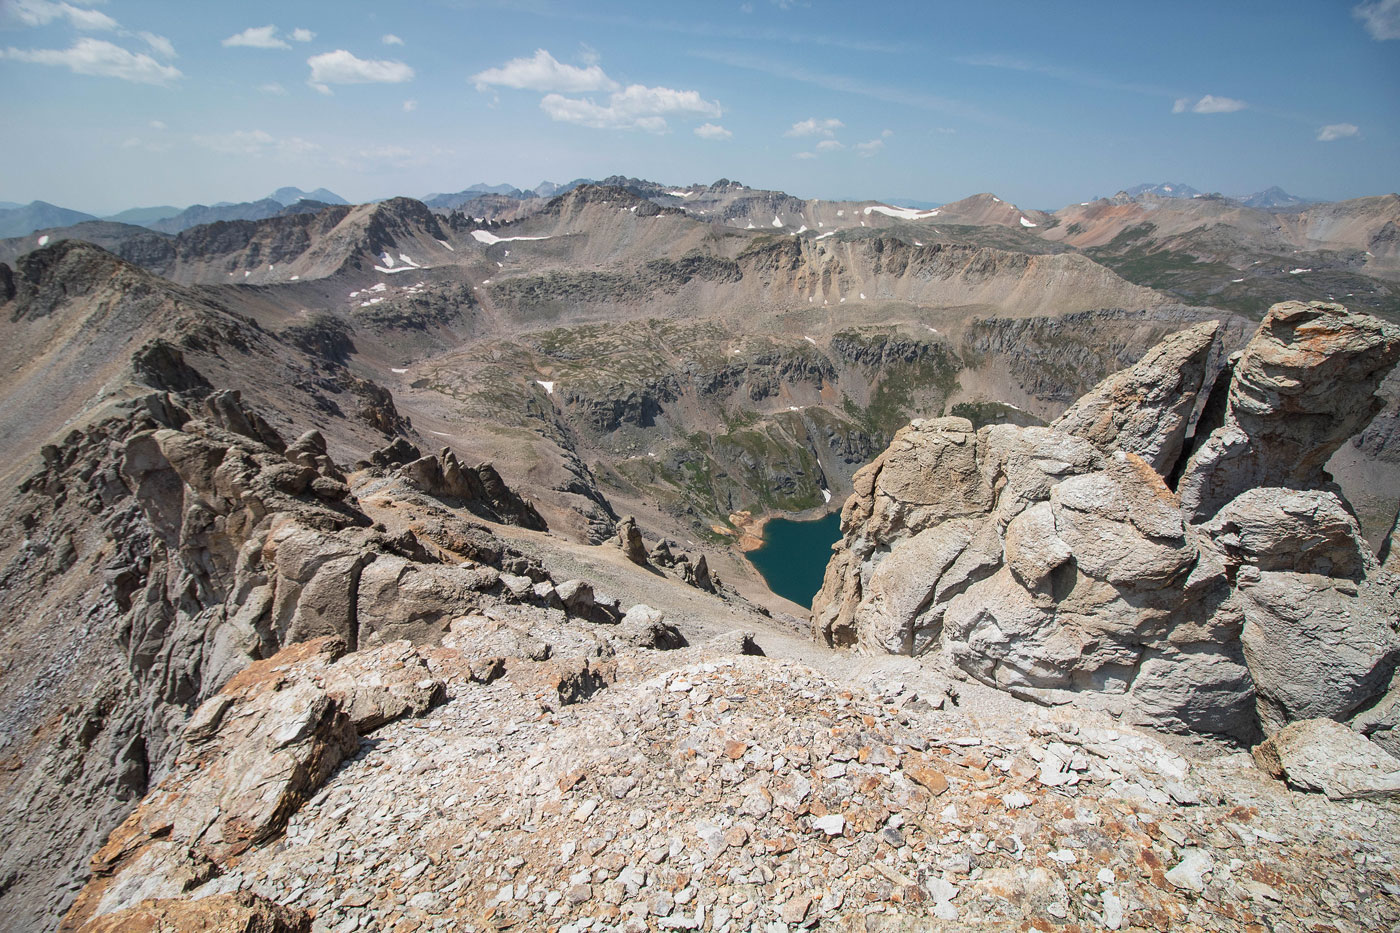
Looking back along the ridge on my way to Three Needles. Blue Lake visible below.
Class 3 move to gain Three Needles.
Three Needles summit, view toward T10. Mud Lake is visible below on the far left, as is the grassy slope I ascended earlier.
Three Needles summit, view toward the ridgeline to come. Blue Lake below, Bridal Peak (last peak of the day) visible just left of center.
Close-up at the fun rock formations on Three Needles summit.
Three Needles summit, close-up toward Mud Lake and my grassy slope ascent from earlier.
Back along the ridgeline, heading south from Three Needles. Just ahead on this misleading social trail is a notch that prevents staying on the ridge. On the right in this photo is a social trail descending a little. Take that.
Hugging the loose cliffs to bypass a scary notch.
Looking back at the social trail hugging the cliffs (far right), Blue Lake below.
Continuing on Class 2, heading south from three Needles.
View back toward Three Needles.
Wide shot of Three Needles (left) and T10 (right).
At a minor summit, view toward Bridal Peak (center). The peak on the left is riddled with scary-looking pinnacles on both sides of the ridge, so I avoided it completely. To do so, I headed along the ridge to the saddle, then dropped off to the right to where the bits of snow are visible, continuing to the saddle to the left of Bridal Peak.
At the saddle before dropping off, Bridal Peak visible on the right.
Looking back toward the minor peak I just came down from, Blue Lake on the left.
Heading along Class 2 talus toward the east ridge of Bridal Peak.
On the east ridge of Bridal Peak, view toward Three Needles (far left). My route to this point came from the saddle in the center, across the Class 2 talus, and then to the ridge below on the right.
Class 2/2+ on the east ridge to Bridal Peak.
Bridal Peak summit, view toward Lewis Lake, Lookout Peak and the grassy ridge that I'd be descending to.
Close-up of Columbine Lake (right) and Peak 13159 (left).
After dropping off Bridal Peak, continuing along the ridge, Lewis Lake visible on the right. I'd be heading there soon.
Looking back toward Bridal Peak.
I intersected an obvious social trail and started heading down toward Lewis Lake on it.
Lewis Lake.
Dam on the northeast side of Lewis Lake.
Old mining stuff along the Lewis Lake Trail.
Looking back toward the Lewis Lake Trail, center.
Continuing on the Lewis Lake Trail. It's just an old road, but the scenery is spectacular. This trail would eventually lead to the Bridal Veil Trail.
La Junta Peak, Wasatch Mountain, etc.
Looking back, Bridal Peak visible top left.
View down Bridal Veil Basin, where I'll eventually meet back up with the junction I left earlier in the day.
Hire me or show me some love!
Hire/refer me as a web developer or send me a few bucks if you find my site useful. I’m not sponsored, so all fees are out-of-pocket and my time preparing trip reports is unpaid. I really appreciate it!