

We headed west through a burn area. Our goal is to get to the ridge on the right in this photo.
Navigating the light brush.
Steep and loose.
Looking back as we ascend to the ridge.
Along the ridge, Peak 10535 is up there somewhere.
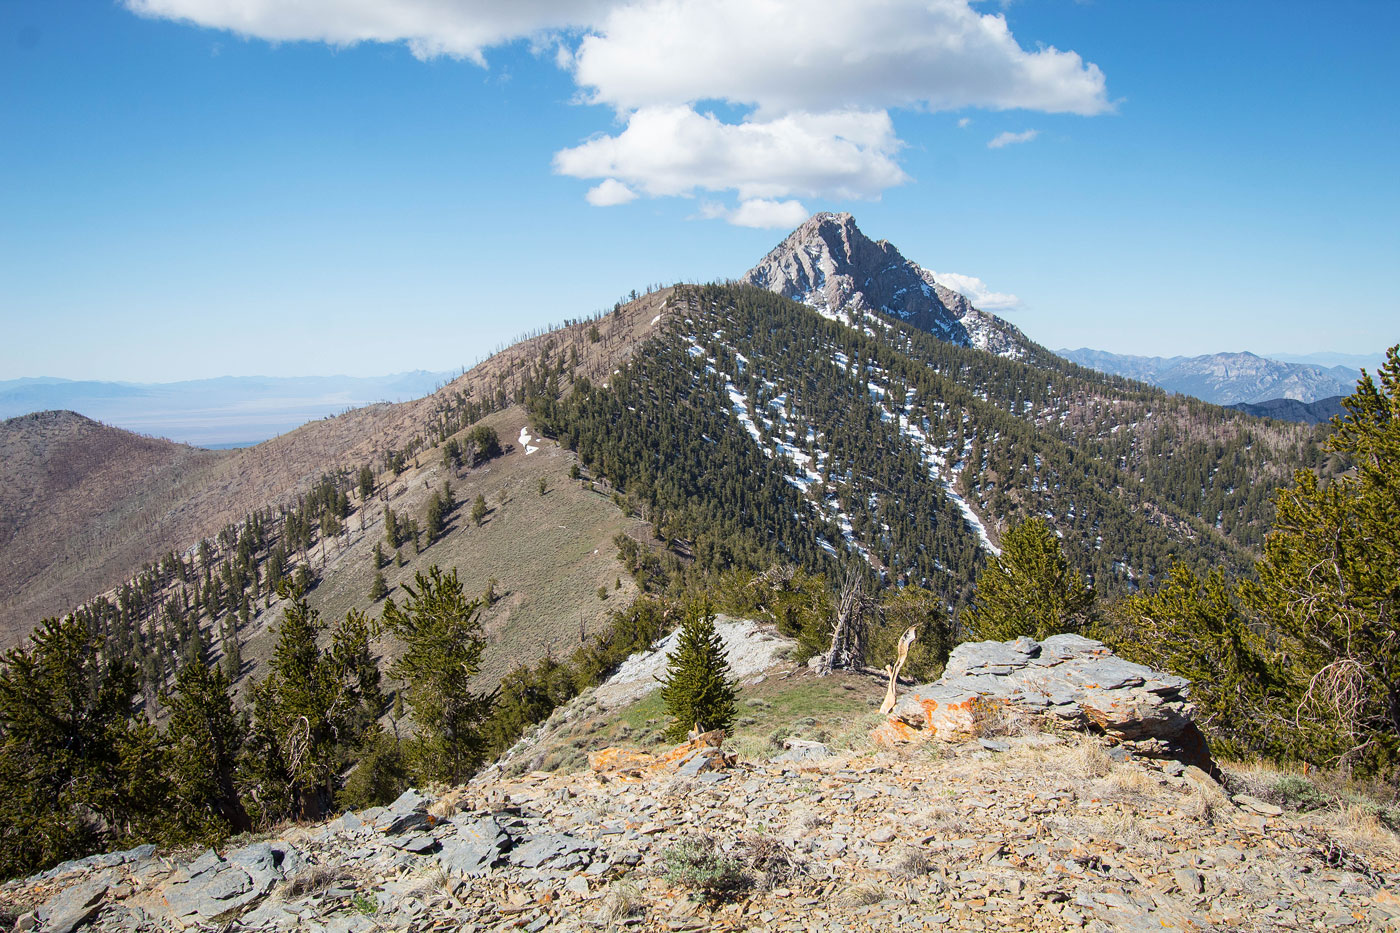
Troy in the distance as we ascend the ridge.
Summit of Peak 10535, view toward Troy Peak. We'll be back here after getting Timber Mountain.
Timber Mountain first. We'd be re-ascending back to Peak 10535.
Heading down from Peak 10535. Timber Mountain ahead.
View back toward Peak 10535 (left) and Troy Peak (right).
Some light brush on the way up to Timber Mountain.
Almost on the summit of Timber Mountain, view back.
Timber Mountain summit, view south toward part of our Grant Range Traverse.
On the way back to Peak 10535, an artsy shot of Troy Peak.
Back on Peak 10535, onward to Troy Peak!
Starting down the ridgeline.
View back toward Timber Mountain (left of center) and Peak 10535 (right of center).
Gorgeous spot before reaching the base of Troy Peak's northern rocky crest.
At the rocky crest, we kept left and side-hilled below the cliffs.
Side-hilling along the standard route.
The standard route continues descending, but Chris and I decided to head to the right and ascend the slopes (ultimately Class 3+ stuff).
Looking back the way we came after avoiding the start of Troy's Peak's rocky crest.
Our alternative scramble route, starting with Class 2.
Progressed to Class 3 slabs.
Chris on the first Class 3 crux (easier than it looks).
Just past our Class 3, a Class 3+ crux.
Some easier Class 3, followed by some Class 2.
Class 2 to Troy Peak. Not sure our alternative was more efficient than the standard route would have been, but it had its fun moments and we enjoyed ourselves.
Troy Peak, view north toward Timber Mountain.
Troy Peak, view south toward our traverse to come.
View back toward Troy Peak and the impressive west cliff face.
Continuing along the ridge. White Pine Azimuth visible left of center.
View back toward Troy Peak.
Short Class 3 section to gain a hump before White Pine Azimuth.
More Class 3 to get over the hump before White Pine Azimuth.
View back toward Troy Peak as we make our way up to White Pine Azimuth.
Class 2/3 up to White Pine Azimuth, pictured ahead.
View back down the Class 2/3 up to White Pine Azimuth.
The wannabe knife-edge (Class 2 with some light exposure) past White Pine Azimuth.
A thin arch on the right. Keep to the notch just to the right of Chris to keep this section Class 2.
We continued along the ridge for a while. There were a few obstacles like this, where the limestone cliff bands overlap, forming a short down-climb move here and there.
Otherwise the traverse looks a lot like this. It's really pretty, lots of limestone slabs on a slant and occasional rocky sections.
View back along the crest.
We avoided the upcoming hump by keeping left.
We kept left, the one time I recommend leaving the ridge crest. Chris attempted to go up and over, bailing because it was scary.
Continuing along the ridge crest. Not pictured is what Chris called a fun Class 3 section by staying along the crest.
A shot of the Class 3 section along the rim that I missed. Photo credit: Chris Kerth
Looking back at the Class 3 section I skipped that Chris did. I went down on the right in this photo and side-hilled on awful terrain. Just take the ridge, Chris liked it. Photo credit: Chris Kerth
View back along the crest. This is where I rejoined the ridge. It's a few feet past the previous photo that Chris took.
Peak 11028 ahead.
View back as we ascend to Peak 11028, Troy Peak (or more accurately, White Pine Azimuth) visible distant center.
Peak 11028 summit, view toward the 10ers we'd be doing next on the left.
Descending to the saddle of Peak 11028 and Peak 10460.
Ascending to Peak 10460.
View back toward Peak 11028.
Avoiding some rock outcrops (max Class 2) on the way up to Peak 10460.
Peak 10460 ahead on the left.
Avoiding some rock outcrops on the right.
View back toward Peak 11028 and Troy Peak.
Peak 10460 ahead.
Peak 10460 summit, view back along the ridge crest, Troy Peak poking out in the center.
Peak 10460 summit, view south to Peak 10292. On the right in this photo you can see a rocky band - do not go up it since it cliffs out. Keep to its left and follow the base of the cliff.
Along the base of the band mentioned in the previous photo.
Descending to Peak 10292.
View back toward Peak 10460 (center), and the rocky band we avoided on the far left.
Ascending to Peak 10292.
View back from the summit of Peak 10292, Chris on the left. Peak 11028 is the distant hump left of center.
Peak 10292 summit, view southeast.
Back along the ridge, avoiding the rocky band mentioned before. Peak 10460 visible center. We avoided it by side-hilling/bushwhacking beneath its cliffs.
It wasn't such a bad side-hill, and felt worth it over re-ascending the peak.
Heading down the descent ridge from Peak 10460. The lighting was bad, so the photos aren't likely too helpful.
The first of a few rock outcrops, requiring a steep Class 2 descent on its left, sticking to its base. Try to stay as close to the ridge crest as possible.
More eroded stuff, but easy to weave around the outcrops and find a route. It was quite fun overall.
View back toward Peak 10460 (center) and Peak 10292 (left).
Descending into Rimrock Canyon (right of center).
View back up Rimrock Canyon.
We followed Rimrock Canyon to almost its mouth, leaving on the left to ascend slightly up to the car, which was north of the drainage.
Hire me or show me some love!
Hire/refer me as a web developer or send me a few bucks if you find my site useful. I’m not sponsored, so all fees are out-of-pocket and my time preparing trip reports is unpaid. I really appreciate it!