I provide a free route map, but you can also download a hike/drive GPX to assist you and to help support my site. Before sharing my GPX tracks with others, please remember my site is a free resource and I'm charging nominal fees to offset my substantial costs.
GPX track added to your cart.
Mar 07, 2020 — This route visits two peaks best accessed via the Arizona Hot Springs Trail, White Rock Canyon Peak (Class 4/5) and Fortress Peak (Class 3). Neither have trails to their summits and both are exposed, loose, and dangerous. But of course somehow still fun. Just a quick note that my trip report combines two different outings to form a more cohesive route, so you may notice lighting differences in the photos. The photos and description outlined below are the result of my third attempt to get White Rock Canyon Peak, followed by a description of Fortress Peak.
To summarize the mishaps for attempting White Rock Canyon Peak, I discovered that the east and south faces of the peak are sheer cliffs on my first solo attempt. I returned the next day for my second attempt with Adam Walker, who brought some trad gear, and we attempted it via the west. This would ultimately be the correct route, but we failed due to being scared of the loose rock at the crux. Attempt three included myself and Kailey. I was obviously immensely determined to get the summit at this point, but I don't think she quite understood why. Although a badass climber and wonderful friend/person, peakbagging isn't her thing, especially a loose blob like White Rock Canyon Peak. I promised her a little add-on trip to soak in nearby Arizona Hot Springs after the peak and she agreed, clearly just humoring me.
We took the Arizona Hot Springs Trail through the initial sandy wash, followed it as it ascended a bit to an overlook toward Fortress Peak, and then down all the way until it entered the sandy wash that houses Arizona Hot Springs. Just after entering the drainage, Kailey and I headed left the trail by following a side drainage on the right and starting north. We followed this drainage on Class 2+ obstacles until it became an easier slope. We continued up the slope heading generally northwest, and worked around to the west side of White Rock Canyon Peak on straightforward, loose, Class 2.
Once at the base of White Rock Canyon Peak's western summit block cliff face, we headed around it to the left (north side) along its base by following a wide ledge/slope until we couldn't go any farther. Once on the north side, incredible views down into White Rock Canyon were impossible to miss, especially because that drop is partially why I didn't attempt the crux without gear on my first time. At what seemed like the end of the road, an exposed Class 2 move wrapped around a rock outcropping and into a gully on the peak's north side. This gully is short and has a massive chockstone at the top of it. Since the rock quality is too loose to place gear, we took turns belaying each other by simply tossing a rope over the rock outcropping, where the belayer was on the opposite side of the rock outcropping and the climber scrambled up next next to the chockstone within the gully. After 15 feet of Class 4+/5 on absolutely crap rock, Class 3 scrambling led to the summit. The views were wonderful.
You might notice I've included an alternative route to reach White Rock Canyon Peak in blue on my attached map. This is a viable route (Class 2/3) that doesn't use the Arizona Hot Springs Trail, but I didn't take photos of it. It felt worthwhile to include anyway.
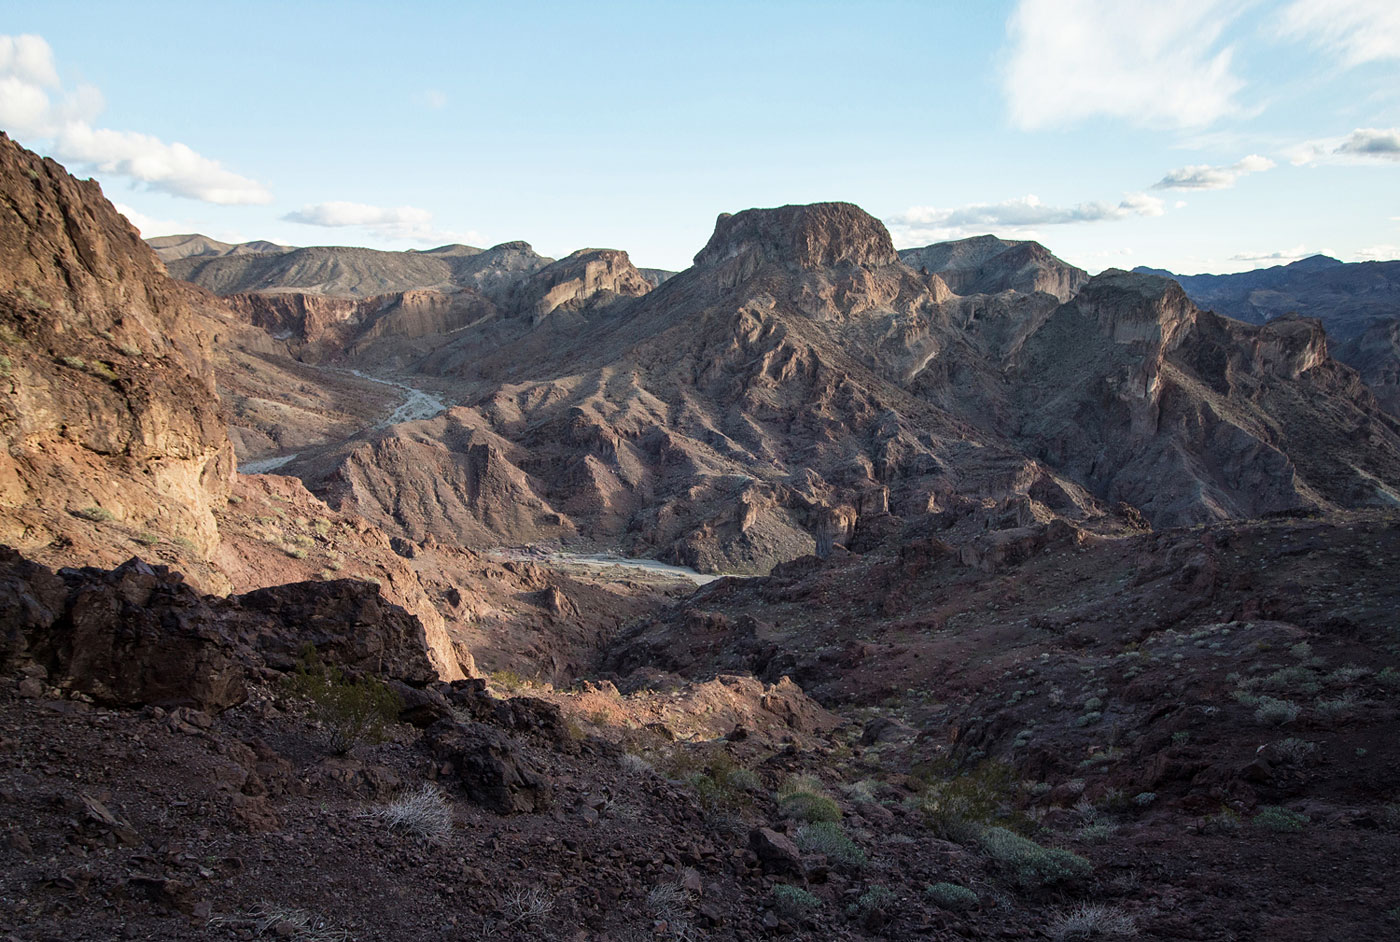
Like I mentioned, I did Fortress Peak a different day, so I'll pick up from within the Arizona Hot Spring drainage. Fortress Peak hovers over the Arizona Hot Springs Trail, but somehow I never really noticed it until making it a peak bagging objective. It's a volcanic rubble heap, but has great views from the top and is aesthetically pleasing from below.
From the drainage housing the hot spring, I headed south leading up a different drainage that took me to the northern base of Fortress Peak. I chose one of any number of possible slopes to get to the northernmost feature of the formidable-looking face. Cairns mark the way up the brittle Class 2/2+ initial slope and I was soon confronted with a ledge. It's a sketchy Class 2+/3 section, and while the climbing is minimal, the exposure is scary and the slope is angled enough to feel like I could possibly slide off. After a couple of zig-zags on various steep and loose ledges, I got to a final section of Class 2+ moves to gain the lip and reach the flattish summit area.
You can also continue to Arizona Hot Springs after returning to the trail, which makes for a nice relaxing add-on to this otherwise adventurous little outing.
Please consider helping me out if you find my site useful. I'm not sponsored, so all site fees are out-of-pocket and my time preparing these trip reports is unpaid. You can also hire me as a web developer. I really appreciate it!


If you find my site helpful, please help me replace my many broken cameras, fund my website fees (hosting, APIs, security), or just support my countless hours of work. I pay for all expenses myself, and all trip reports I post are unpaid and unsponsored, so any support is really appreciated!
If using PayPal, please select their option for "Sending to a friend" so they don't take out fees, thank you.
My site is free to use, but consider sending me a few bucks to help keep it running. Thanks in advance!