

After leaving the car, we headed south through a wash, then took a slope out of view in this photo.
Ascending the slope to the base of Peak 4220.
View back along the slope. House Mountain visible in the distance.
Class 2/3 up a weakness to gain Peak 4220.
View back just below the summit of Peak 4220, Steel-cut peak visible top left.
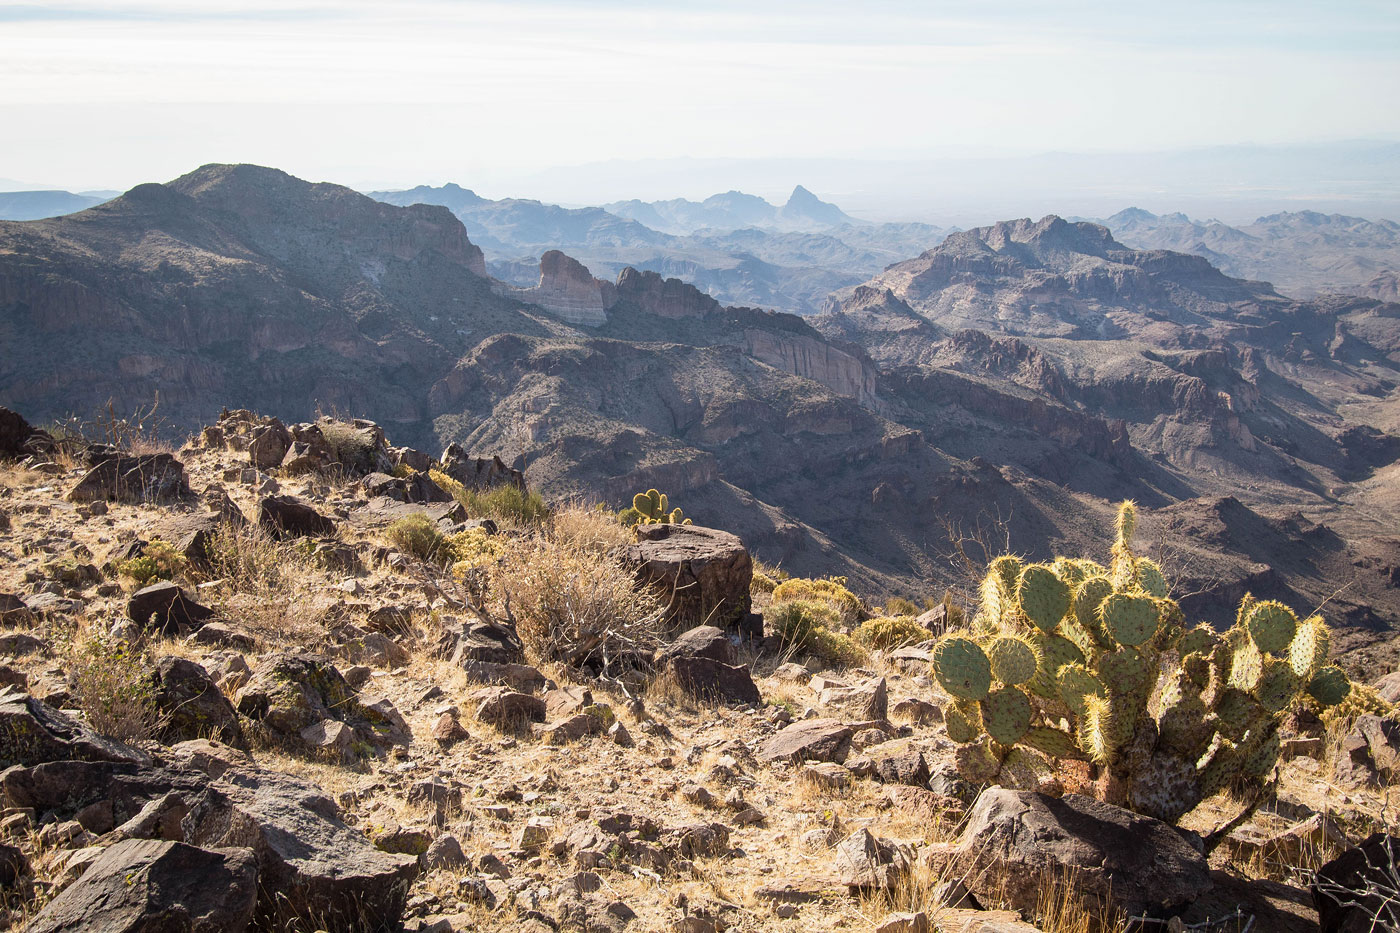
Summit of Peak 4220, view south toward North Mount Nutt.
Summit of Peak 4220, view north.
Close-up of the more interesting summits in the area, which we lovingly labeled the Breakfast Peaks Loop earlier this year.
After dropping off Peak 4220, we continued along the ridge to North Mount Nutt. There are multiple bumps along the way, such as the one ahead. Keeping left around this next one is the better option.
More cool pinnacles on bumps along the ridge. North Mount Nutt visible top left.
View back along the ridge, Peak 4220 visible right.
Avoiding the pinnacle-topped bumps.
Shot to the west toward the amazing terrain below. Cool area.
Another shot back the way we came. Peak 4220 on the right.
Ascending an easy slope to the base of North Mount Nutt.
Close-up toward the Breakfast Peaks.
North Mount Nutt ahead, one section of Class 2 to contend with on yet another hump along the way.
Nearing the cliff base of North Mount Nutt. While we could have likely ascended directly here, we chose to wrap to the right.
Along the slopes on the right (west) of North Mount Nutt.
We found this cute canyon with some brush that we led us to higher ground. A burro trail directed us toward it.
Class 2 terrain and some pinnacles and minor cliffs to navigate around.
View back down the way we came, awesome formations visible far below.
Class 2 as we avoid weaknesses, nearing the summit.
Approaching the summit of North Mount Nutt.
North Mount Nutt summit, view toward Mount Nutt and Battleship Mountain to the south.
Close-up toward the Breakfast Peaks.
View northeast toward more cool peaks. Trough Peak is visible on the center left in this photo.
We backtracked a bunch and then continued through the desert down to the wilderness boundary. The route we chose headed through a brushy drainage, seen on the left. Keeping out of it is advised. Trough Peak visible just above Adam's head on the right. Our goal is to head to the drainage directly above his head.
Within the drainage on the west side of Trough Peak. You can see the peak's substantial cliff on the right.
View back as we near the saddle on the peak's north side. You can see the cool arch top center.
Wrapping around to the northeast side of Trough Peak, lots of cool pinnacles to navigate.
We chose this option.
View back down, Class 2/3.
More fun navigating up the slope.
On the summit, view north. You can see Adam approaching the summit.
View east.
View south toward North Mount Nutt.
Onward to the cool arch. Trough Peak visible top left. North Mount Nutt top right.
The arch!
Very cool, wide unnamed arch.
Trough Peak seen through the arch.
Hire me or show me some love!
Hire/refer me as a web developer or send me a few bucks if you find my site useful. I’m not sponsored, so all fees are out-of-pocket and my time preparing trip reports is unpaid. I really appreciate it!