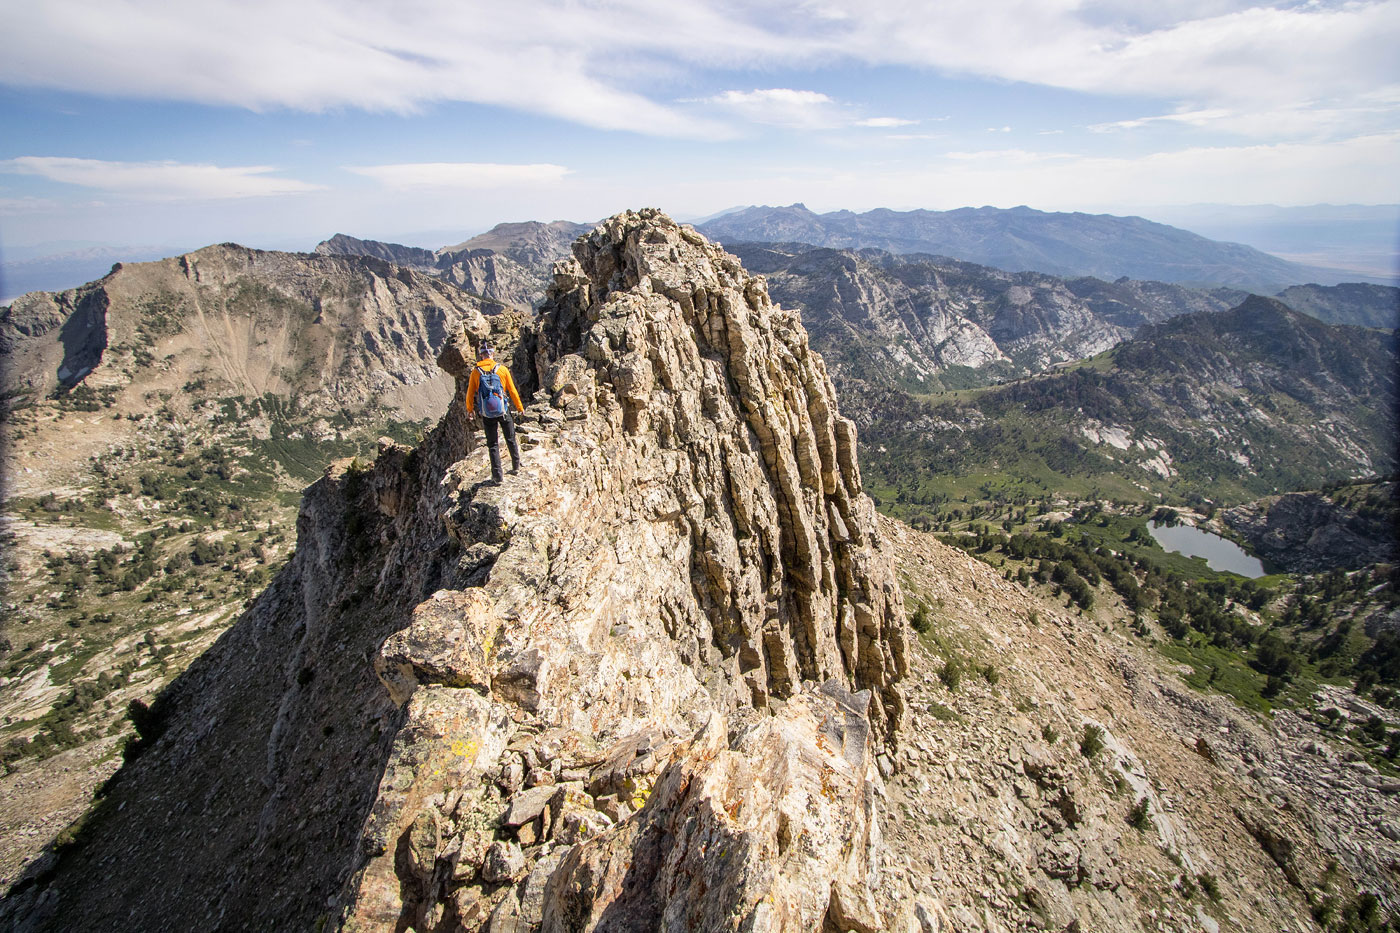

Hike Thomas Peak, Full House Peak, Snow Lake Peak, Mount Fitzgerald Humboldt-Toiyabe National Forest, NV

Starting along the Island Lake Trail.

View back into Lamoille Canyon.

Approaching Island Lake. In the center of this photo you can see the saddle separating Thomas Peak and Full House Peak that we'd be going to later.

Looking back at Island Lake as we ascend to Thomas Peak.

Thomas Peak's summit is located to the right of the pinnacle in the center of this photo. We headed toward it.

View back as we ascend away from Island Lake.

The weakness, seen center. The Class 2+ chute route starts near that pinnacle, while the Class 2 ledge switchback heads off to the right. both routes use the center weakness though.

View back at our progress as we head up the steep slope.

We headed up the Class 2+ chute.

Chute to reach Thomas Peak.

Thomas Peak summit, view toward Full House Peak (left), Snow Lake Peak (left of center), and Mount Fitzgerald (right).

Descending from Thomas Peak, we headed toward the center of this photo to avoid the cliffs on the right. Full House Peak is next.

After descending and avoiding the cliff, we re-ascended to the saddle of Thomas and Full House.

Looking back at our Class 2 talus traverse (right).

Class 2 up Full House Peak's ridge.

Looking back toward the saddle. There were some Class 2+ sections.

Avoiding the sketchy summit ridge, keeping to a ledge on the left. Class 2 got us up from here.

Full House Peak summit, view toward Mount Gilbert and Ruby Dome.

Full House Peak, view toward Snow Lake Peak and Mount Fitzgerald. We headed down along the south ridge, seen left.

The ridge got crazy, so we bailed via this slope/gully on the left.

Class 2 boulder-hopping traverse to wrap around the south side of Snow Lake Peak.

Emerging on the southwest side of Snow Lake Peak, Mount Fitzgerald seen in the distance.

Snow Lake below.

If you get here, the actual western ridge crest of Snow Lake Peak, you went too far. As you can see on the left it's very steep and loose. I recommend the ledge option instead.

This is the kind of crap you'll have to deal with if you take the west ridge crest instead of the ledge system.

Rather than head to the western ridge crest (seen left) go up this slope and locate a hidden ledge (above Chris).

View back at the Class 2 ledge alternative.

The ledge wraps around and leads to the first crux.

Either way, this is the start of the first crux. Class 3+.

Chris entering a chute higher up on the crux.

View down at the first half of the crux.

Final bit of Class 3 to get to the grassy ledge above.

Just to the right is this lovely keyhole.

Past the keyhole, a nice Class 2 ledge continues around the southwest side of Snow Lake Peak.

View back toward the keyhole (center).

If you see this, you've gone too far. This leads to scary stuff.

Look for this face. The flat rock right of center serves as the indicator for the dihedral you'll want to go up.

Chris starting up the second crux section, Class 4.

Close-up of the hardest move, roughly halfway up.

A shot back at the Class 4 move.

Final bit of Class 2/3 to gain the summit.

View of the crux section (left). Snow Lake seen top right far below.

Snow Lake Peak summit, view toward Full House Peak.

Snow Lake Peak summit, view toward Mount Fitzgerald.

View back toward Snow Lake Peak.

Delightful little traverse over to the base of Mount Fitzgerald.


Just left of the crest, the terrain goes at Class 2/3, with one definite Class 3 move.

View at the ascent up Mount Fitzgerald.

Northern summit, view to the southern one.

Chris along a narrower section before the knife-edge.

Chris on the knife-edge, southern summit seen ahead.


Mount Fitzgerald summit, view toward Ruby Dome.

Mount Fitzgerald summit, view south toward Liberty Peak and Wines Peak.

Heading back toward Snow Lake Peak's south ridge.

We dropped east from Snow Lake Peak's south ridge, a nice grassy slope.

We wanted to go directly down to the Lamoille Stock Trail, but a cliff forced us a traverse a bit.

After avoiding the cliff, we scrambled past it when there was a Class 2 option.

Minor bushwhacking to get to the trail.

View back up at Snow Lake Peak after our descent.

Along the Lamoille Pack Trail, heading back to the trailhead.

Hire me or show me some love!
Hire/refer me as a web developer or send me a few bucks if you find my site useful. I’m not sponsored, so all fees are out-of-pocket and my time preparing trip reports is unpaid. I really appreciate it!

