I provide a free route map, but you can also download a hike/drive GPX to assist you and to help support my site. Before sharing my GPX tracks with others, please remember my site is a free resource and I'm charging nominal fees to offset my substantial costs.
GPX track added to your cart.
Oct 05, 2020 — Sams Rock is a lovely little adventuresome add-on if you're in the Toano Range area. It looks pretty impressive even from the highway, and even moreso close-up. The drive in is accessible likely by any vehicle, though 2WD might have trouble on a steep section a mile or so before the trailhead.
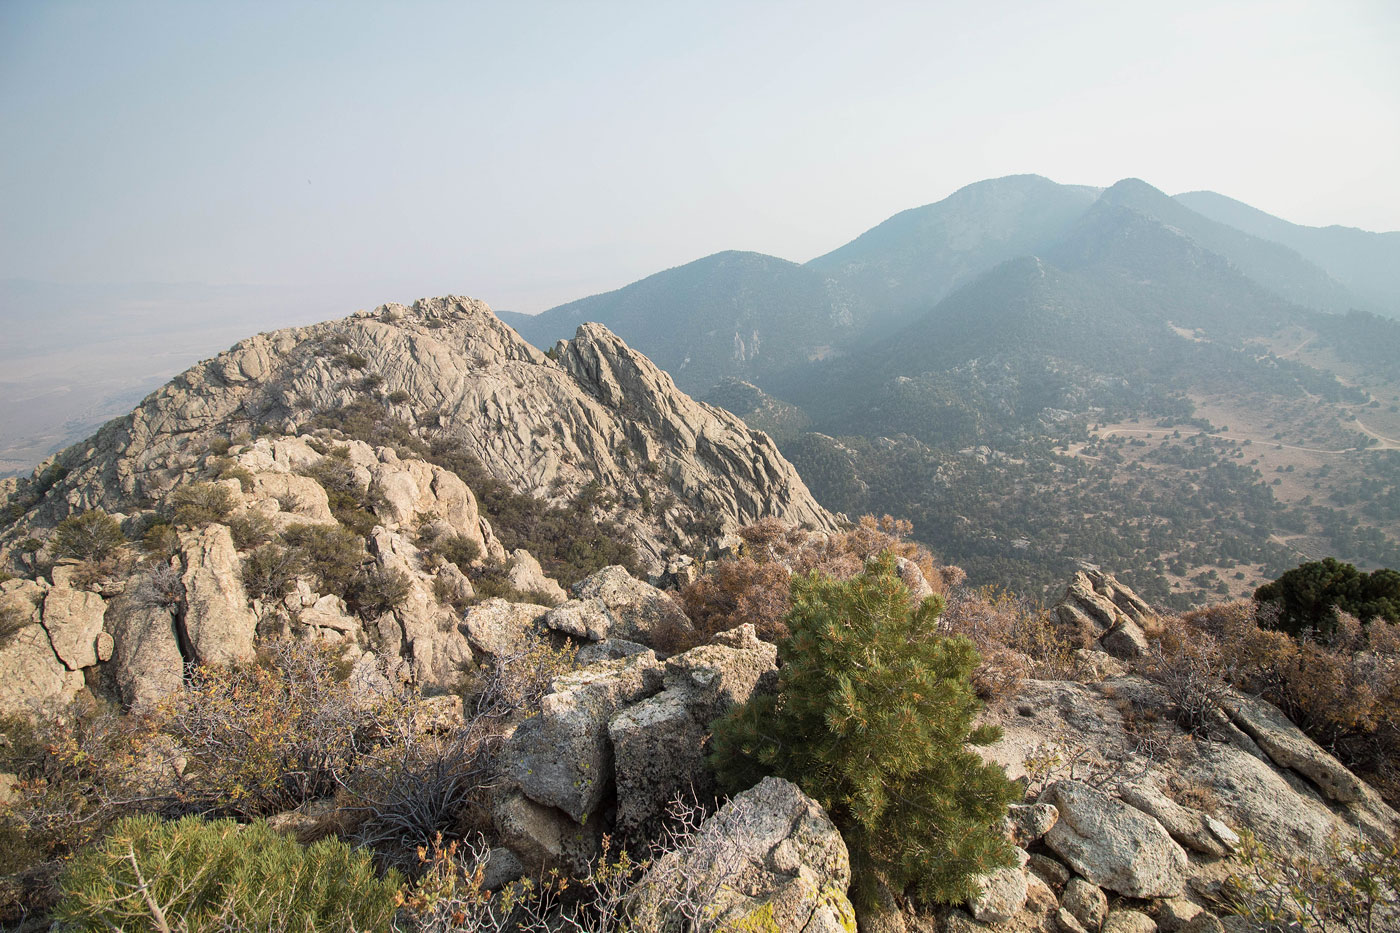
Take note of a major brushy-looking weakness splitting Sams Rock's high point and an unnamed point. This will be the route, though it's not nearly as brushy as it seems from below. I parked at a small campground and followed the dirt road a short time before turning right up a drainage. This drainage continued east, and when it became hard to follow, I simply ascended on a sandy slope. The slope got more and more steep as I progressed, some minor Class 2 moves and tree-ducking slowing me down a little. The trees grew a little thicker, and I knew I was in the brushy-looking weakness I saw from below. It might be temping to continue all the way up this weakness since the granite that starts to appear on the left looks steep and intimidating. However, a vital crack on the left located well below the top of this weakness will serve as the route to the summit. I recommend keeping to the left of the brushy-looking weakness, but if you do any scrambling more than easy Class 2 before the vital crack, there’s an easier way. In fact, on my descent I was able to descend the brushy-looking weakness without encountering any Class 2 at all. So, choose carefully to keep the route tame.
The vital crack is difficult to describe, but if you hug the granite rock outcroppings on the left of the brushy-looking weakness, you'll stumble on it like I did. I included a close-up of the terrain map for a more detailed view. Once locating this crack, which is somewhat choked with trees and brush, I headed in and picked my way around the foliage. The first obstacle was within the crack, where a stuff Class 3 stemming move helped me gain higher ground. I continued to stay within the crack for the first few obstacles, but was forced out to just left of the crack for a particularly steep chockstone section. Making this move would be a short bout of Class 4/5, but staying on a Class 3 slab on the left felt more intuitive. Once above this crux move, I continued up the crack, which became a sandy and Class 2 affair. At the top of the sandy section, I noted a potentially easier route up Sams Rock if you approach from the north (see photo), but the crack was interesting enough for me to recommend doing it rather than trying to ascend Sams Rock from the north.
At this point, I looked to the left at a scary-looking headwall. A short and loose Class 3 pile of boulders led to a wrap around on the right, avoiding the scary stuff and keeping the rest of the route Class 2. The summit views were nice, and I recommend continuing along the ridge for a little bit past the high point to experience a short and narrow ridge that I found fun.
Thanks to Lane and Ken Johnson for your beta about the crack.
Please consider helping me out if you find my site useful. I'm not sponsored, so all site fees are out-of-pocket and my time preparing these trip reports is unpaid. You can also hire me as a web developer. I really appreciate it!


If you find my site helpful, please help me replace my many broken cameras, fund my website fees (hosting, APIs, security), or just support my countless hours of work. I pay for all expenses myself, and all trip reports I post are unpaid and unsponsored, so any support is really appreciated!
If using PayPal, please select their option for "Sending to a friend" so they don't take out fees, thank you.
My site is free to use, but consider sending me a few bucks to help keep it running. Thanks in advance!