

Bonanza King Mine ruins.
Heading up the east slopes toward Mitchell Point's east ridge, seen above.
Class 2 up the slope.
View back. The Bonanza King Mine ruins are somewhere in the center of this photo.
More Class 2/3 up the slope.
We gained the ridge. False peak of Mitchell Point visible ahead.
View back along the ridge.
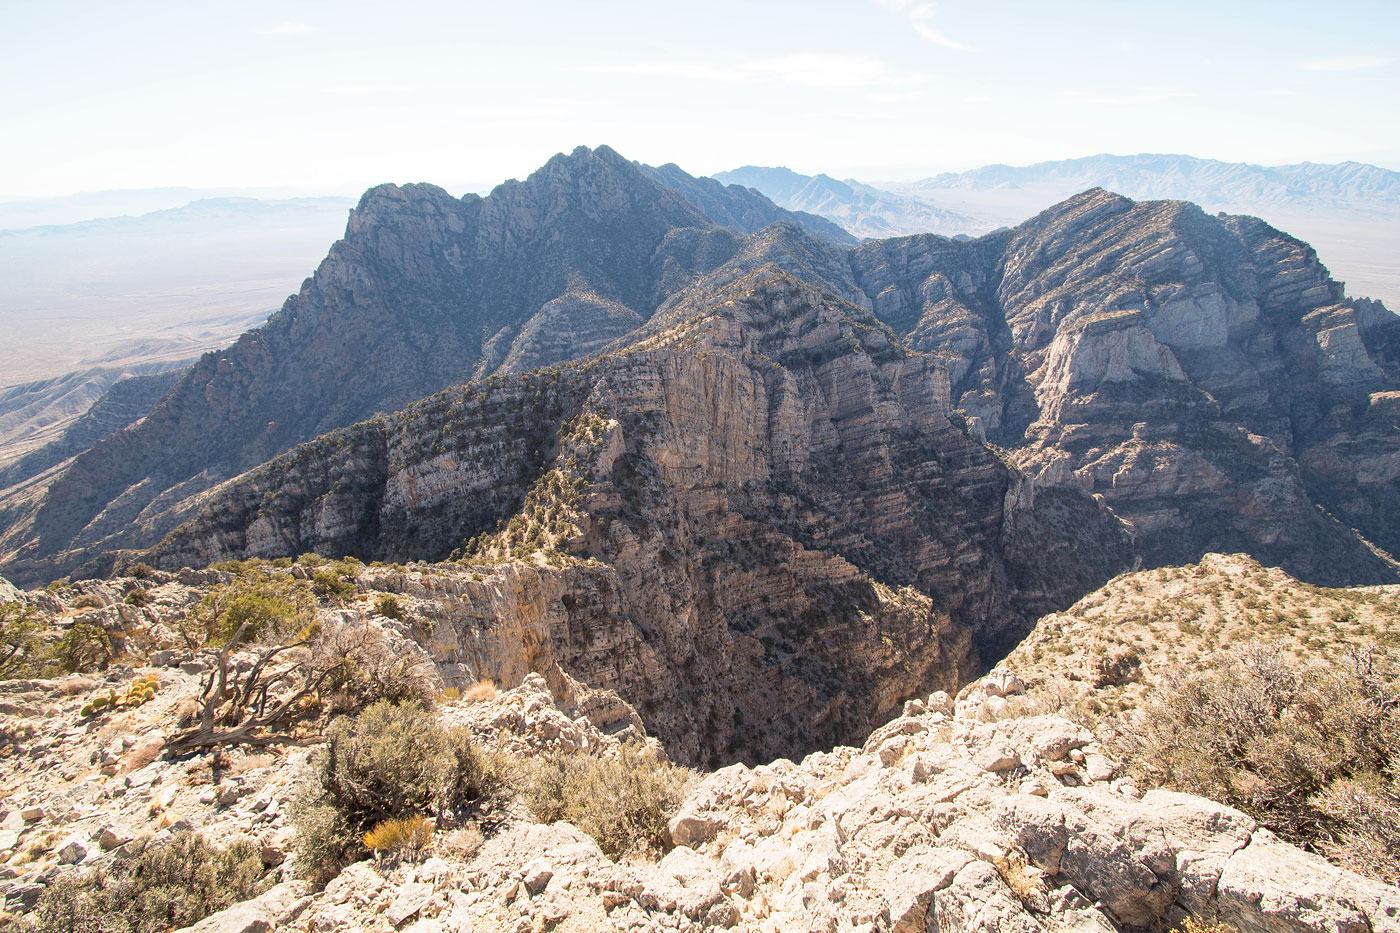
Close-up toward Edgar Peak, our second peak of the day.
Ascending to the Mitchell Point false summit.
The crest gets rocky. It's usually easier to keep just left.
Lots of cacti and tedious terrain.
Mitchell Point false summit ahead on the right. Edgar Peak far left.
Continuing along the ridge crest. Mitchell Point poking out in the center.
View back as we ascend.
False summit, view at the serious-looking ridgeline leading to Mitchell Point. The cliff on the right was gorgeous.
Class 3 downclimb along the ridge, likely avoidable.
We stayed on the ridgeline for a while. It sounded more fun than side-hilling below, but I recommend dropping down to the easier terrain to make better time.
View back along the ridge crest, gorgeous.
We dropped off the crest and side-hilled on this nonsense.
We made our way back to the ridge crest. You can see the false summit right of center.
Mitchell Point ahead.
Class 2/3 to the summit.
Back the way we came.
Close-up back the way we came.
Kelso Dunes in the distance.
The route to come! Edgar Peak seen left of center.
Class 2 descent from Mitchell Point.
At the base of Mitchell Point, an inconvenient bump along the ridgeline. We kept left and ascended the dirty slope.
View back toward Mitchell Point.
At the top of the first bump, view toward the next bump.
Class 3 to get over one of the cliff bands.
Side-hilling around the bump. It was perfectly fine, though going up and over and staying on the crest would have probably worked too.
Onward, another bump with a significant-looking cliff band ahead. We wrapped around it on the right.
Close-up toward unnamed Peak 6640. No time for you today, friend!
Onward along the ridge crest. More bumps await. Edgar Peak is getting closer, though!
Closer to Edgar Peak as we side-hill around the last major bump.
View back, Mitchell Point center.
At the base of Edgar Peak.
Steep ascent.
Bouldery section toward the top of Edgar Peak.
View back down toward the ridgeline we just came from.
Complex terrain toward the summit.
Our chosen Class 3 chute. There are likely better options.
Summit of Edgar Peak, Mitchell Point visible left.
Fountain Peak ahead, center. We started down from Edgar. Providence Benchmark visible in the distance.
We kept left of the ridge crest, sticking to the base of the cliffs.
Class 2/3 on loose stuff. Here we are approaching a steep Class 3 section.
The chute veers off left here. We ascended the boulders on the right where Tyler is.
View back up the chute we just came down from Edgar Peak.
Just past the boulders, the view. We side-hilled to the notch right of center. Class 2/3 stuff.
Just below the notch.
Just past the notch, now on the right (west) side of the ridge crest. That obstacle is next. We kept to its left up the crack you can see.
Class 3 up the chute/crack.
Just past the crack, a Class 3/4 section.
Tyler coming up the Class 3/4 section, view back toward Edgar Peak.
On the bump we just ascended, view toward Fountain Peak.
Class 2/3 with one Class 4 move to get down from the bump to reach the base of Fountain Peak.
Class 4 downclimb move.
View back at the descent from the bump.
Ascending to the base of Fountain Peak, view back.
Rather than take the reportedly loose Class 4 north face, we hugged Fountain Peak's north/northwestern cliffs and wrapped around in search for another ascent route.
Mostly minimal brush to contend with.
View back.
Still wrapping.
An open area where we found our weakness, center left.
Tyler starting up our Class 3 lightly-colored weakness.
Class 3 ramp.
Above the ramp, some steep Class 3 led to this view of an unlikely chute on the left. To the right in this photo is just a sheer cliff.
Tyler coming up the Class 3 chute.
Class 4 territory, but minimal exposure.
View back down.
Tyler pulling the Class 4 crux. This was quite fun.
Nearing the top.
Tyler ascending to Fountain Peak's summit.
A grabbed a quick shot of the loose Class 4 north face of Fountain Peak. It didn't look horrible from here, but certainly less fun than what we did.
Fountain Peak summit, view back.
Close-up Close-up toward Edgar.
Close-up south at the route from Fountain.
View back toward Fountain after a Class 2/3 descent, now ascending another obstacle.
Drop left onto the more tame terrain visible below rather than stick to the ridge crest.
After dropping down, we side-hilled for a short time and then located with weakness to re-ascend to the ridgeline. You can see an orange flag someone left behind, but who knows if this will be there in the future.
After some easy ridgeline walking, we began the descent along Fountain Peak's south slope.
Some pleasant terrain. We kept right around the obstacle ahead.
View back toward the way we came, right.
Wrapping around that first obstacle and then getting back to the ridgeline.
View back toward the obstacle.
Another shot back after more progress.
Avoiding another obstacle on steep cactus-filled terrain.
Descending the ridgeline.
View back along the ridgeline descent. Lots of rock and cacti to slow us down.
Nearing Foshay Pass just as the sun set.
Hire me or show me some love!
Hire/refer me as a web developer or send me a few bucks if you find my site useful. I’m not sponsored, so all fees are out-of-pocket and my time preparing trip reports is unpaid. I really appreciate it!